

Since my trip to the Philippines in October 2023, I noticed there are a few things I wish I knew before the trip. From the necessary travel documents, internet connection and transportation tips to how much cash I really need, these information would have make my planing and preparation much more efficient. So I decided to put all of it into one post. I hope it will help you with planing your own Philippine adventure.
1. Entrance Documents
Philippines is a country that offers entrance without a visa to so many places in the world. It includes my own country – Croatia. So this part of planning my travel has been rather quick and easy.
The only documents/forms you really will need to enter the country as a Croatian are these three:
- your passport (valid at least 6 months longer than your date of departure)
- custom baggage declaration form – handed out to you on the airplane – so do bring a pen to fill it out
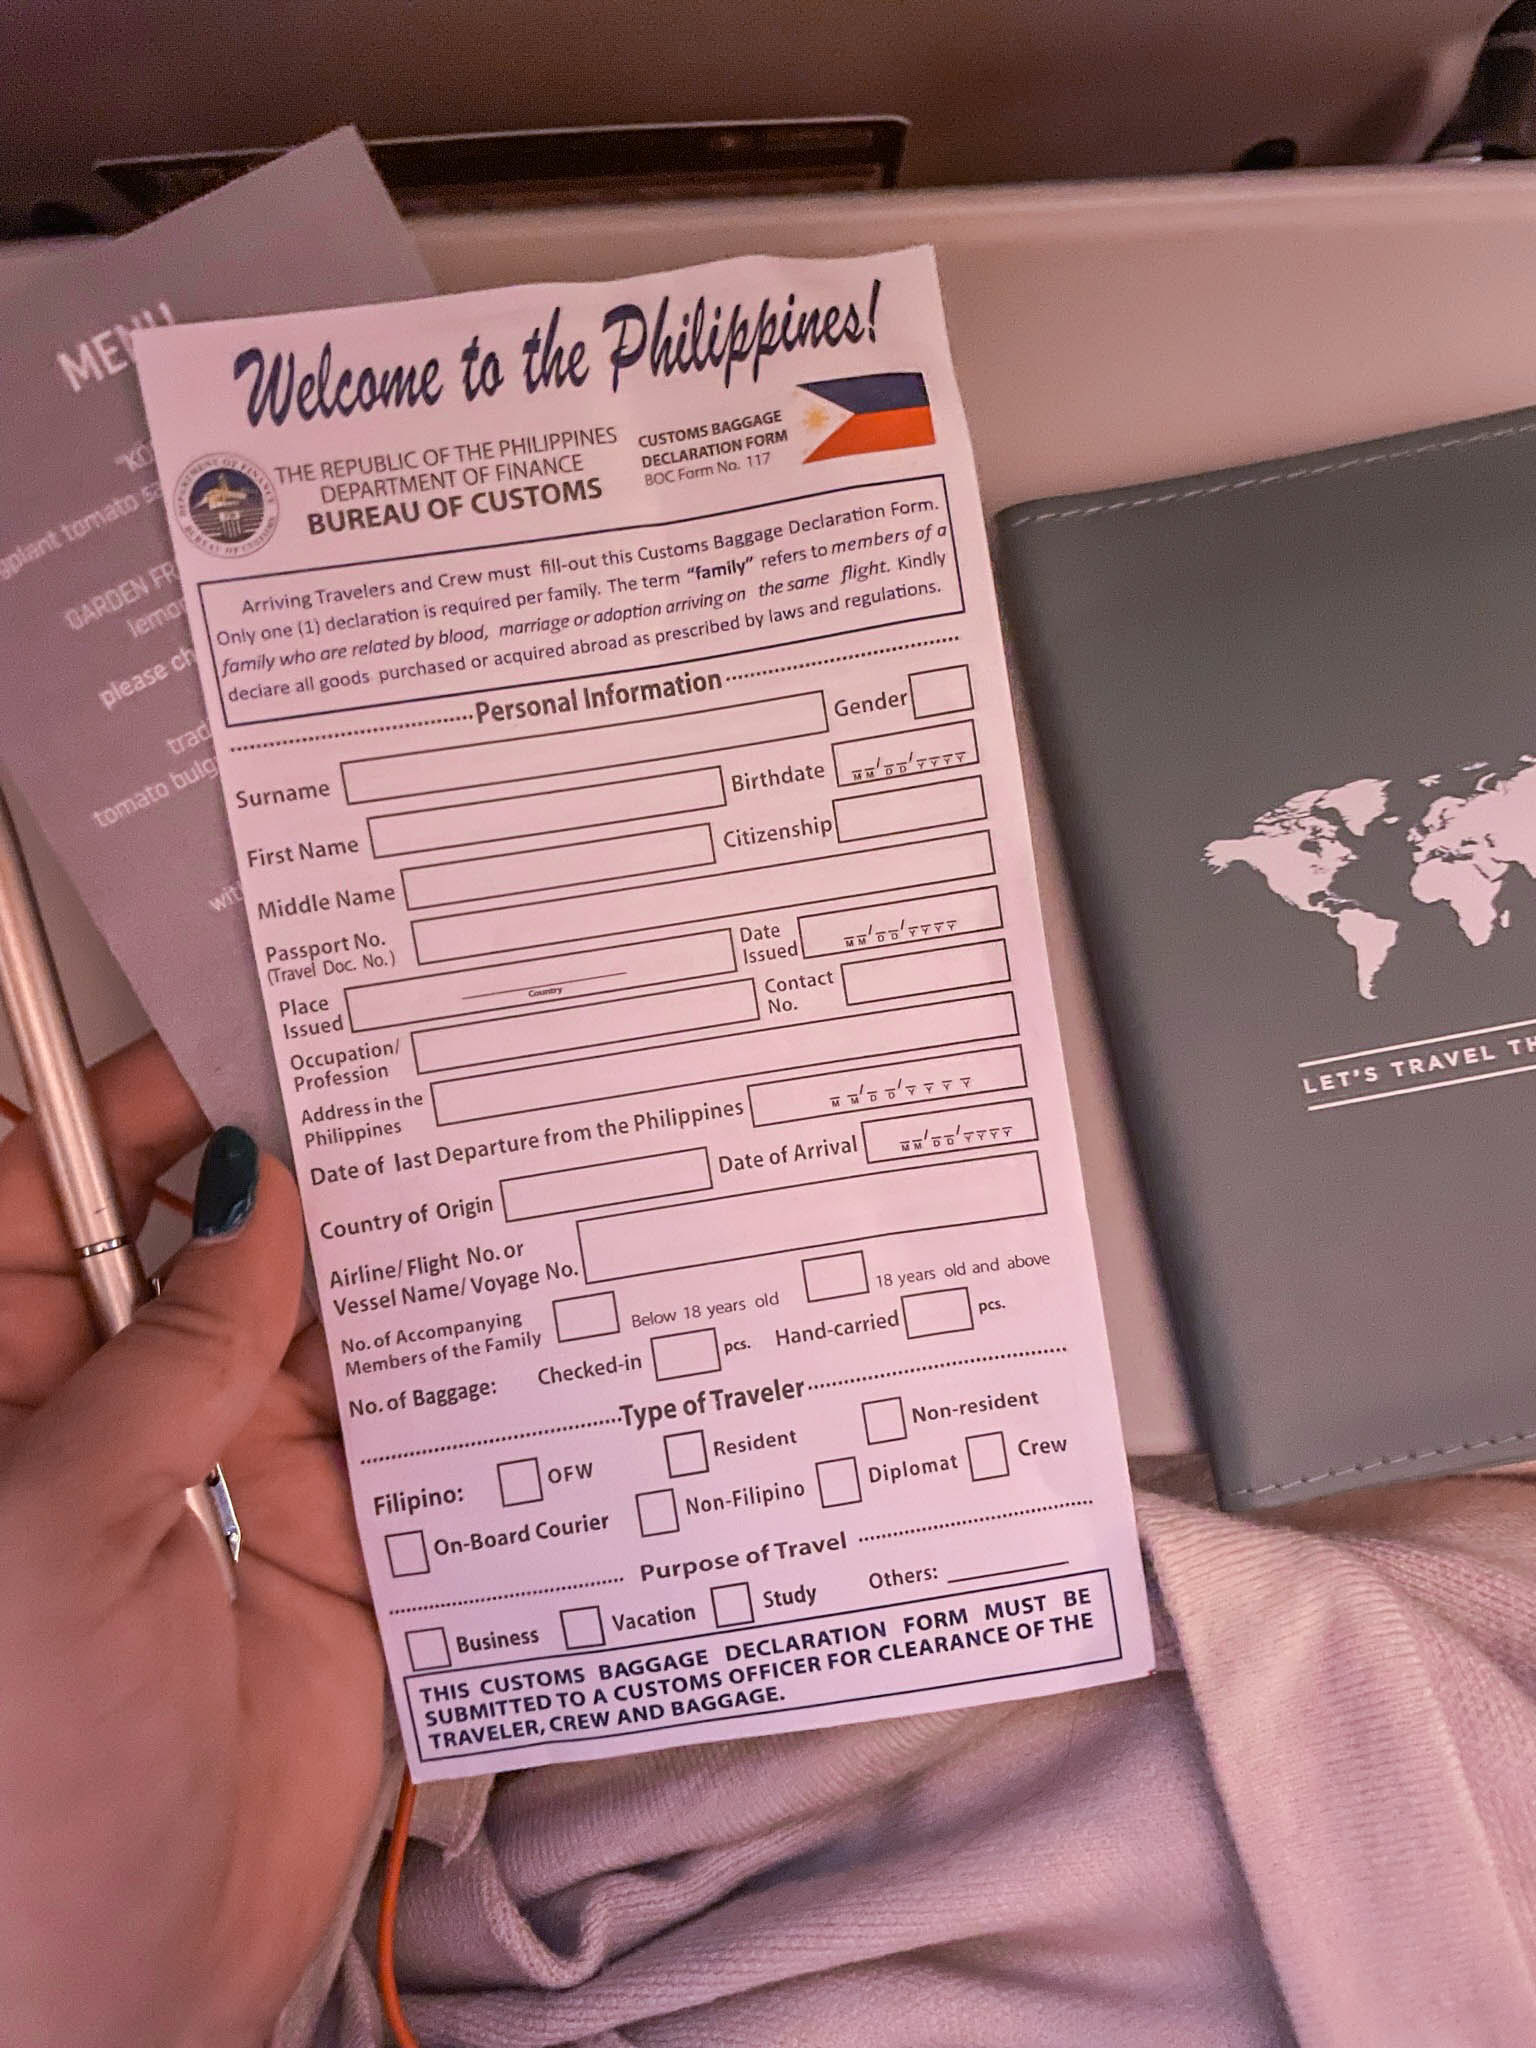
3. e-travel QR code – you get one by filling out a form before your arrival on https://etravel.gov.ph (you will only need it for arrival)


Do check if your country requirements are different and you may need further documents.
2. Connectivity
Having internet connectivity makes traveling in a foreign country easier and more carefree. Internet will not cost you a fortune in the Philippines if you follow this simple advice.
Where not to get a SIM card
I know the feeling. You arrive in a foreign country and you wish to have your own internet from the minute you land. The mobile companies know it too. So if you land in Manila, right at the airport, the first thing you will see is a stand with the „Free SIM Card“ signs. Do not fall for it!
They will try to offer you a free SIM Card, which in reality costs 40 PHP (0,68 EUR). It goes along with one of their internet packages of 10 GB for 2,500 PHP (43 EUR).
If you wait for just about 30-40 min, you can get 25 GB package for just 300 PHP (5 EUR) .
Where to get a SIM card
So this is how you can save your money big time. The airport itself offers free internet. Use it to get a taxi to your accommodation. At the reception, ask them to direct you to the closest 7/11. There is literally one around every corner.
At 7/11, ask for a “Smart” SIM Card (40 PHP) which already includes 4 GB for 3 days.
Download the Smart app and log in with your new phone number.

Depending on how long you are staying, ask the guys in 7/11 to help you top your account with the amount of the package you may want to buy.
Here are a few examples of the amounts you may want to add:
3 days- 2 GB – 50 PHP
7 days – 6 GB – 99 PHP
30 days – 24 GB – 299 PHP

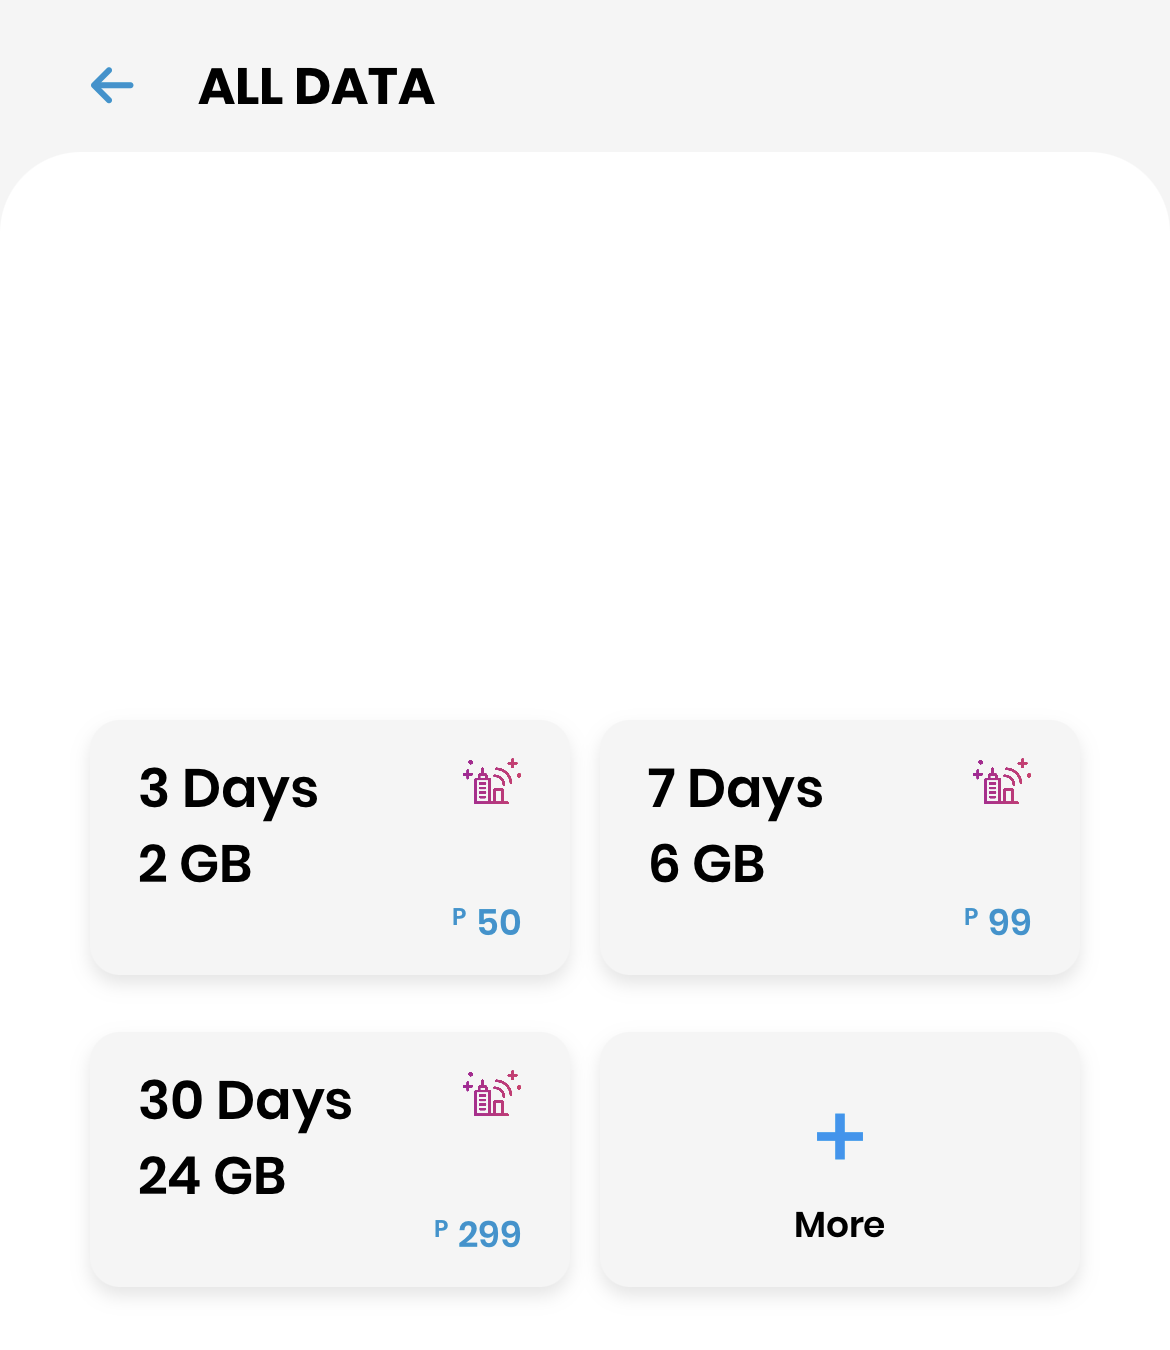
My friend Joseph helped me top my account with 300 PHP and bought the 30-day package for around 6 EUR. Meaning, I saved about 35 EUR with just a bit more effort and patience.
I gave you an example of the Smart SIM card because that’s the one I got to use. I am pretty sure other companies would be able to provide you with similar services for similar prices.
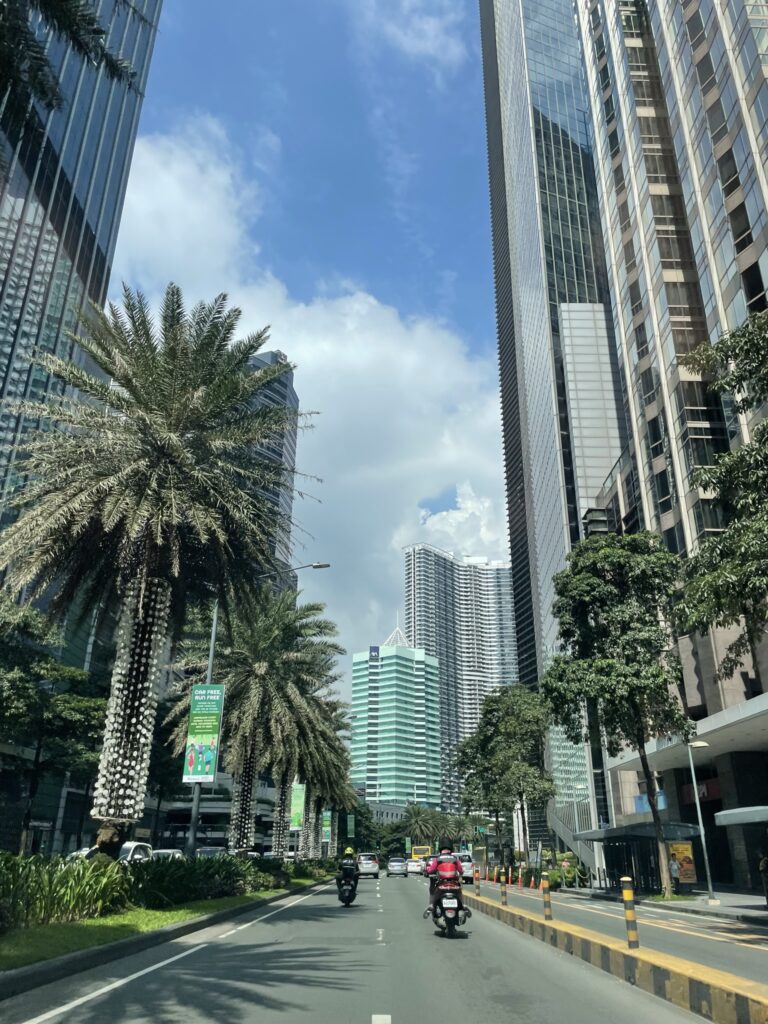
3. Transportation
Flights
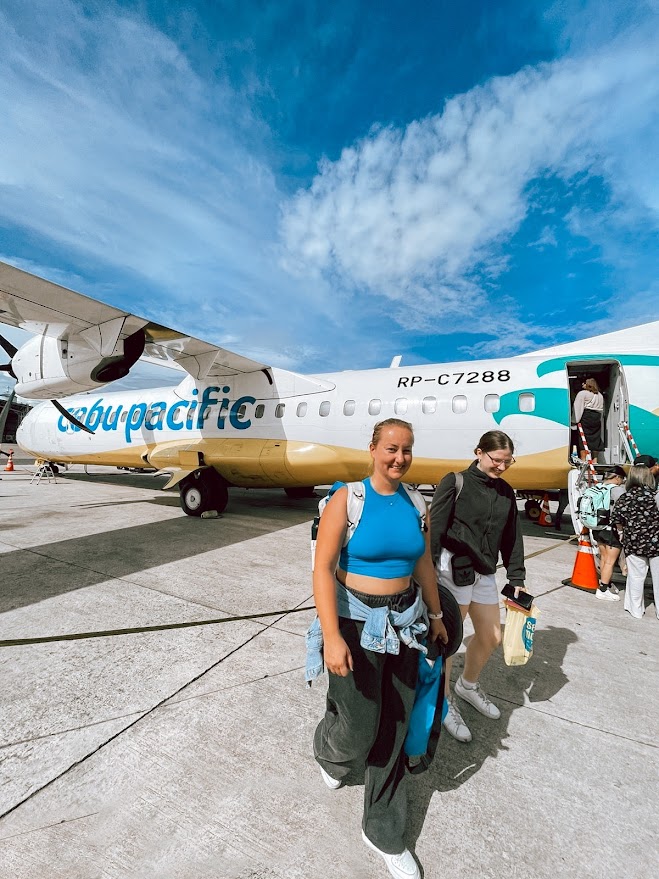
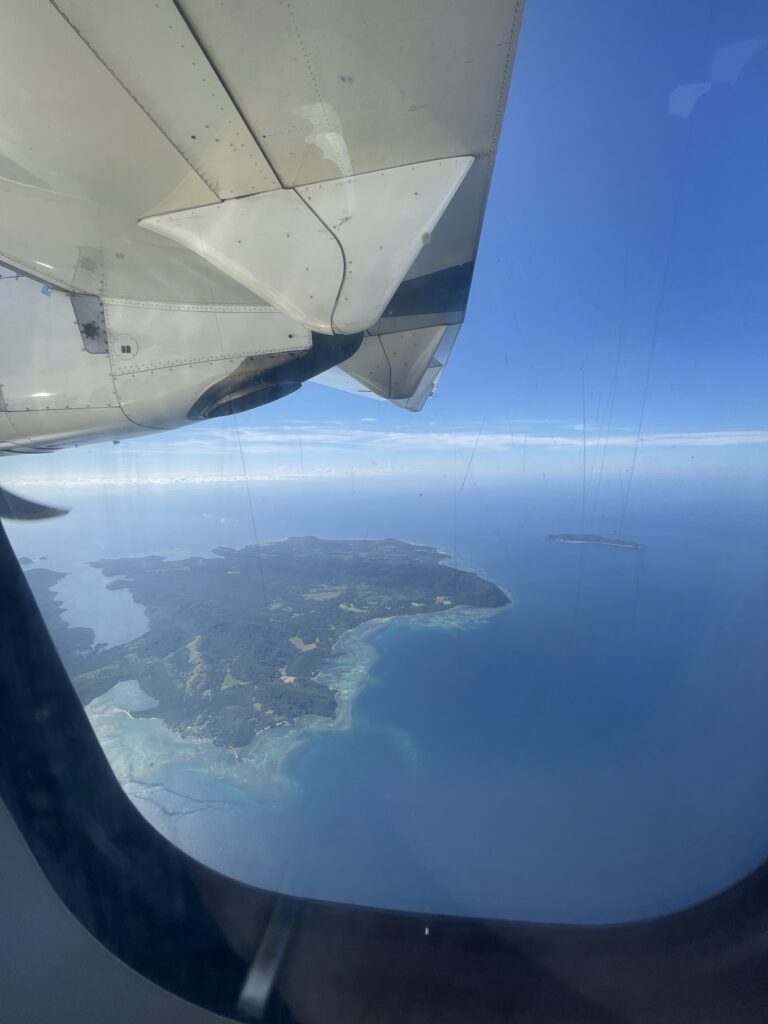
Most of the island hopping in the Philippines is done by flying. If bought on time, flights can cost as little as 20 EUR. If not bought on time or chosen on highly requested dates, the same flight can reach 120 EUR. I would definitely advise you to look into booking flights about 1,5 – 2 months ahead if possible. Leaving this part to the last minute can stack up to hundreds of Euros of difference.
I took all my flights with Cebu Pacific, which is a budget airline along with AirSWIFT. Philippine Airlines is more of a higher-class airline. I chose Cebu Pacific because of their baggage prices which were lower compared to others. Their allowance is 20kg and they are very strict on it (max. 20,5kg). On the other hand, nobody has ever weighed my hand luggage, of which I had one big backpack and one personal item for underneath the seat.
Ferry Boats
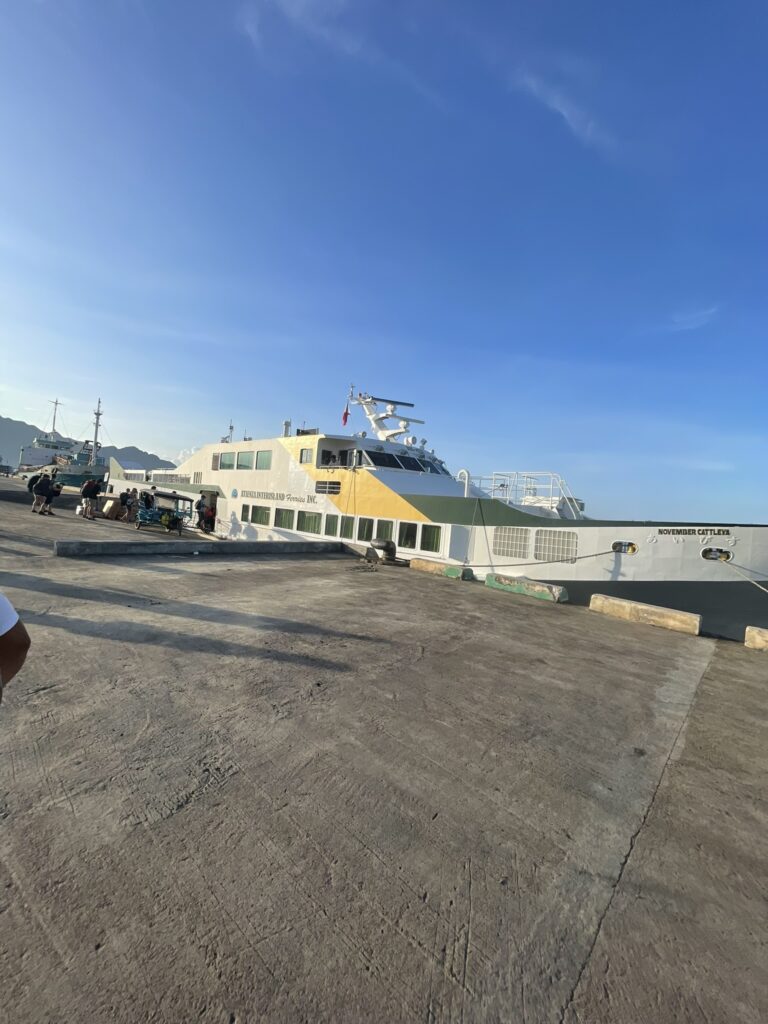
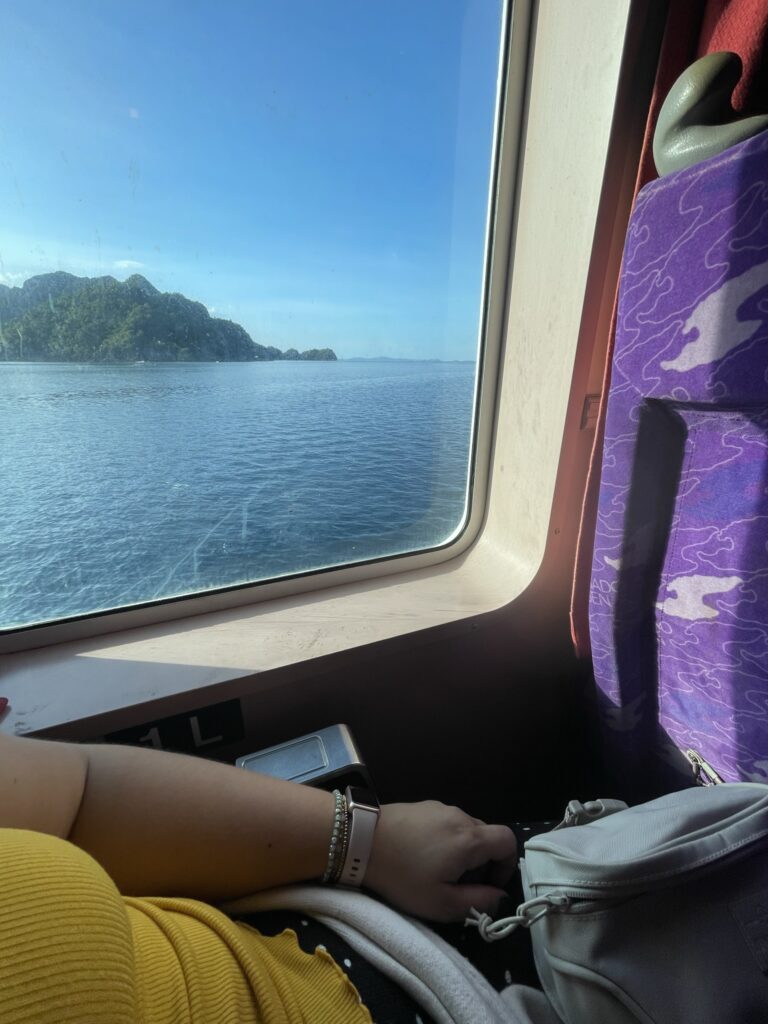
If traveling in high season (November-March), I would advise you to look into booking the tickets for your ferry in advance. In case you are traveling outside of those dates, buying a ticket one day ahead at the port is just as fine. It may even turn out a cheaper option.
I bought my ticket through Klook since I was on a tight schedule and couldn’t leave anything to luck. My ticket with Atienza Shipping Lines cost me 45 EUR for a 5-hour ferry ride from Coron to El Nido, which, if bought online, is a regular price. The price of the tickets bought on the spot is said to start at around 34 EUR.
This is also one of the most often-used ferry connections – either Coron to El Nido or the other way around. You can also look up the tickets directly from the companies offering the transfer. These are Atienza Shipping Lines, Montenegro Lines and Judy Ferry Travel.
Taxis
One thing you may wish to do prior to arriving in the Philippines is to download a few apps that may come in handy.
Here are a few of my suggestions:
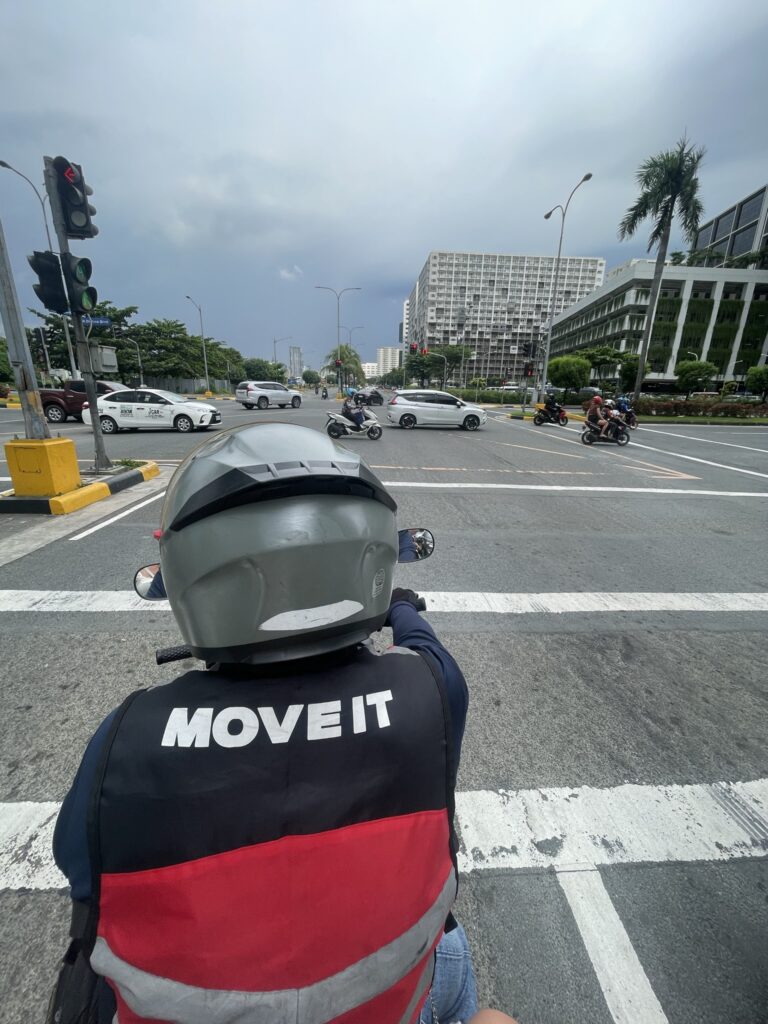
Motorcycle taxis
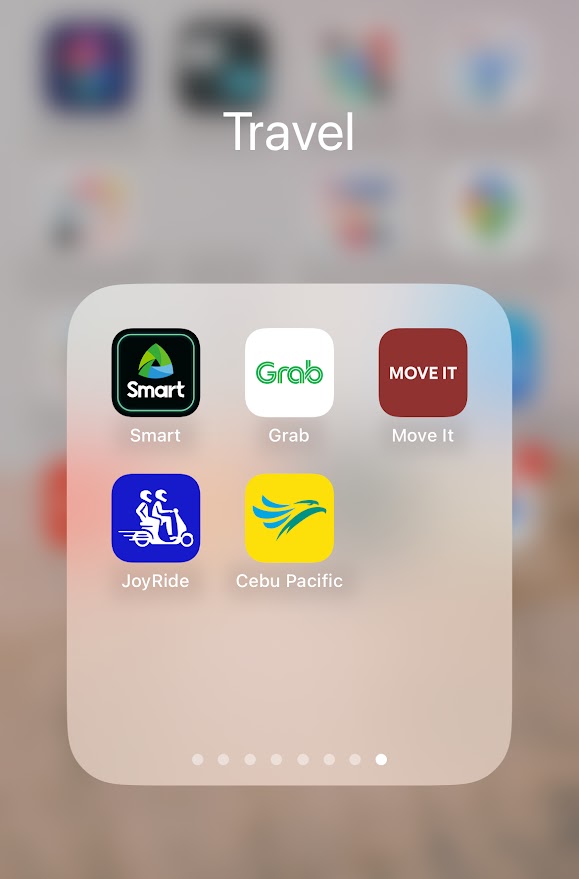
–Joyride – they are the cheapest transfer, but the app never worked well for me. It took me too long to find a driver.
– Move it – it is a Grab company and I always had great experience with the drivers
–Angkas – they are said to have the most drivers in Manila and are seen everywhere. I was not able to download the app at all, so never got to test them
Car taxis
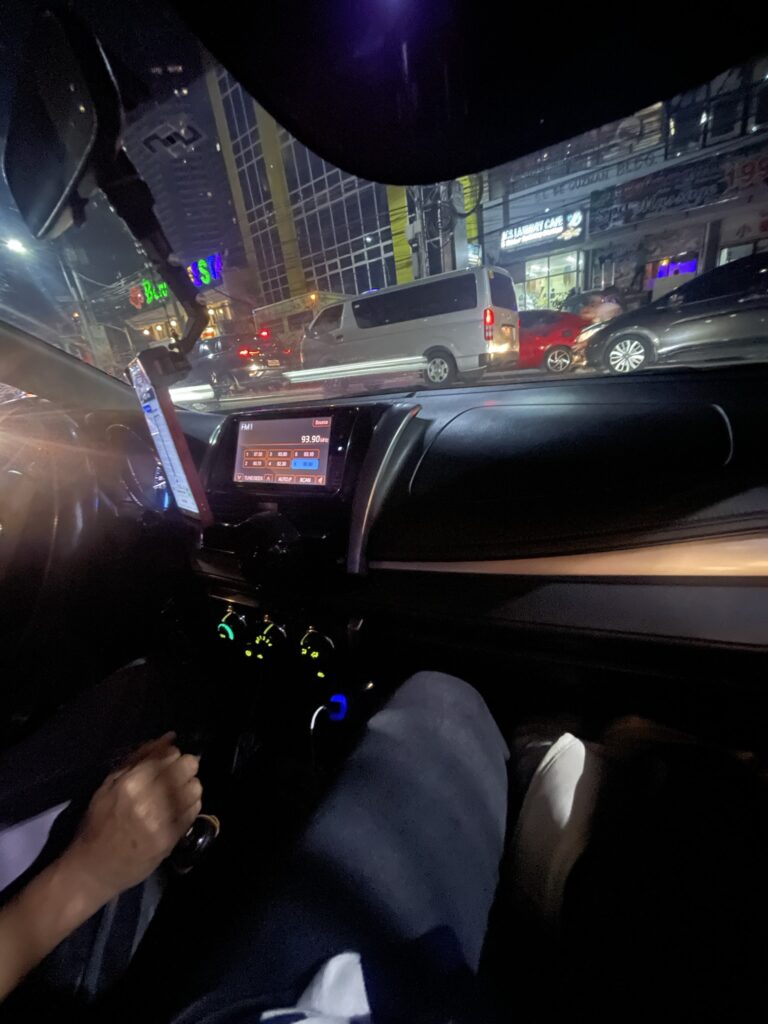
–Grab – it is literally the Uber of the Philippines. I used Grab in Indonesia and Singapore too, so I already knew it was a well-trusted brand. It had always worked out well for me; I used them for my airport pick-up and drop-offs. The app lets you see the price before you book and gives you all the data about the driver- their name, license plate, car type. You can chat with the driver and also call him. It is possible to have a direct transfer or a shared drive, depending on which one you choose.
One tip for taxis in Manila though… Friday afternoons/evenings are crazy busy. If your flight is on Friday (like mine was), it may take 3-4 hours longer to get to the airport than on any other day. I stayed in the business district – Makati, from which it usually takes about 40 min.
Extra tip 1 – If you are in a hurry and willing to spend an extra 250 PHP (4 EUR), take the Skyways. It is an elevated skyway which is a shortcut between the airport and the city. Make sure you tell this to your driver right at the beginning of your drive.
Extra tip 2 – While downloading the above mentioned apps, make sure you also log into them and create an account, so you are ready to use them as soon as you land (learn from my mistakes)
For your airport pick-up and drop-off, you will obviously need a proper taxi due to your luggage. For all other commuting around the city (esp. Manila and Cebu), I would advise you to use the motorcycle transfer. It will get you from point A to point B in about 15% of the time and 25% of the money compared to a car taxi. For comparison- I took a motorbike to get to a dinner with friends which cost me 50 PHP (0,86 EUR) and about 7 min. A car taxi ride would have cost me about 250 PHP and 25-30 min in time. In case you are in smaller places like Coron, El Nido or Siargao, simply rent your own motorcycle, scooter or ride a local tricycle or a jeepney, which are still an affordable way of transportation and will take you wherever you need.
4. Money
Getting some Philippine Pesos before my travel was the mission impossible so I knew I would have to draw money from an ATM when I get there. Most ATMs have a limit set at 10.000 PHP (ca. 170 EUR) which you can pull at once, with a transfer fee of 200-250 PHP (3-4 EUR). I pulled my first 10.000 at the airport, so I would have cash for my first few days. This amount has lasted me almost till the end of my travel.
In bigger or more developed cities like Manila, Cebu and even Siargao, many of the restaurants and shops actually accepted card payments. Still, smaller places, taxis, souvenir shops, tours, supermarkets and many other places only accept cash or G-cash.
(G-cash is a payment app for the locals that we do not get to install without a local ID).
So, cash it is.
Make sure to always have enough cash with you and pull more ahead of time. It may happen (and of course, it did) that you reach a place like we did in Siargao, where most ATMs were defective and the rest of them simply refuse your card. Oops.
5. Accommodation
Booking.com
I have booked most of my accommodation through Booking.com, for a very simple reason – reliability. I got to pay for the accommodation over the app and did not have to pull cash to pay on the spot. Through the app I also discussed special requests with the property and got their confirmation in writing.
My favorite accommodation booked through Booking.com has been our little bungalow in Siargao. The place was simply adorable and if you ever find yourself in Siargao, you will not go wrong with Tropical Temple Siargao Resort.
Hostelworld
I have also booked a few accommodations through Hostelworld. I had to pay for my Hostelworld stays on the spot. You do not get to communicate with the property as easily, but if you travel solo, you get to chat with the guests at the same hostel prior to your arrival. The app also informs you about any possible hostel events going on while you are there.
My favorite stay through Hostelworld was in Hop Hostel in Coron. If you book it in advance, you can get a private room and still enjoy all the perks of a hostel life – an affordable price, a lively crowd and the best rooftop bar view over Coron.
Facebook groups / local agencies
Another way of booking the accommodation I used for my stay in El Nido is through a Facebook group “El Nido Palawan Budget Tour Packages” with the local agency TravelMe. It is a riskier way of booking since you still need to pay a certain amount ahead to someone you met on Facebook. After I stepped into our accommodation though and went on a great tour with great people the next day, I knew it was all worth it.

I have booked a so-called “3D4N Tour” (3 day-4 night tour). It included a pickup & drop off from/to the airport in Puerto Princesa or El Nido + a 4-night stay at an Inn + 3x breakfast + 2 boat tours (lunch incl.). The whole package cost us 107 EUR p. P. If I had booked it all separately, it would have all come to about 180 EUR p.P.
6. Tours & Sights
If you are in for exploring the island on your own, a motorcycle or a scooter rental would definitely be your choice. You can expect prices from about 700 PHP for a scooter up to 1500 PHP for a bigger, stronger motorcycle.
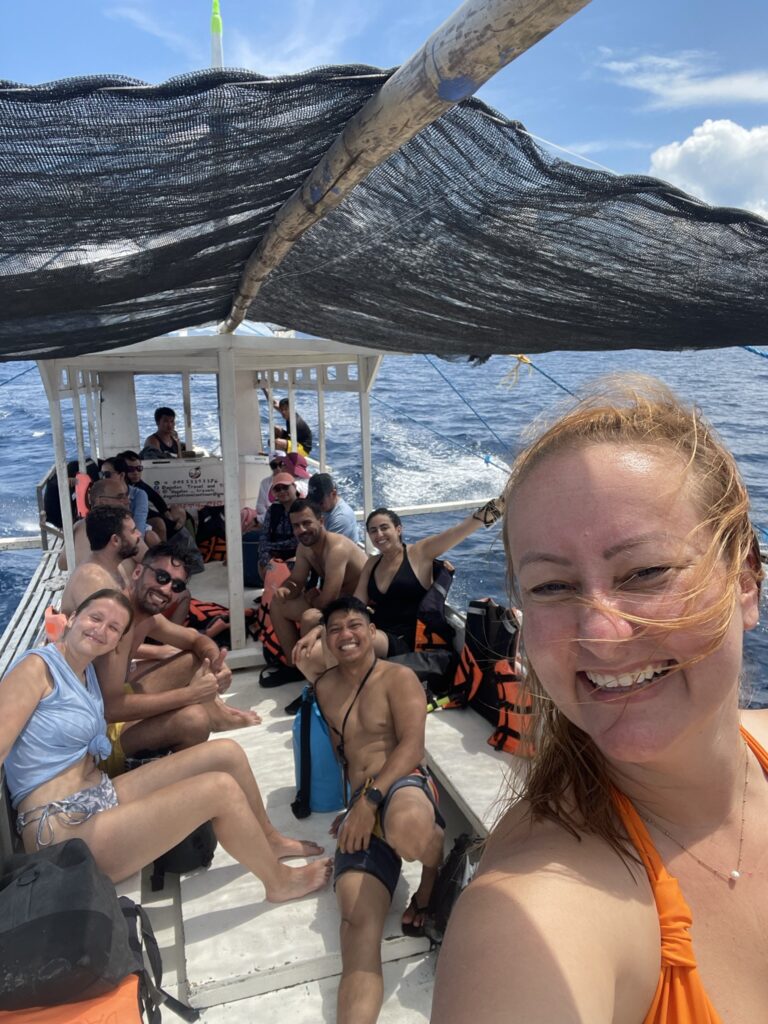
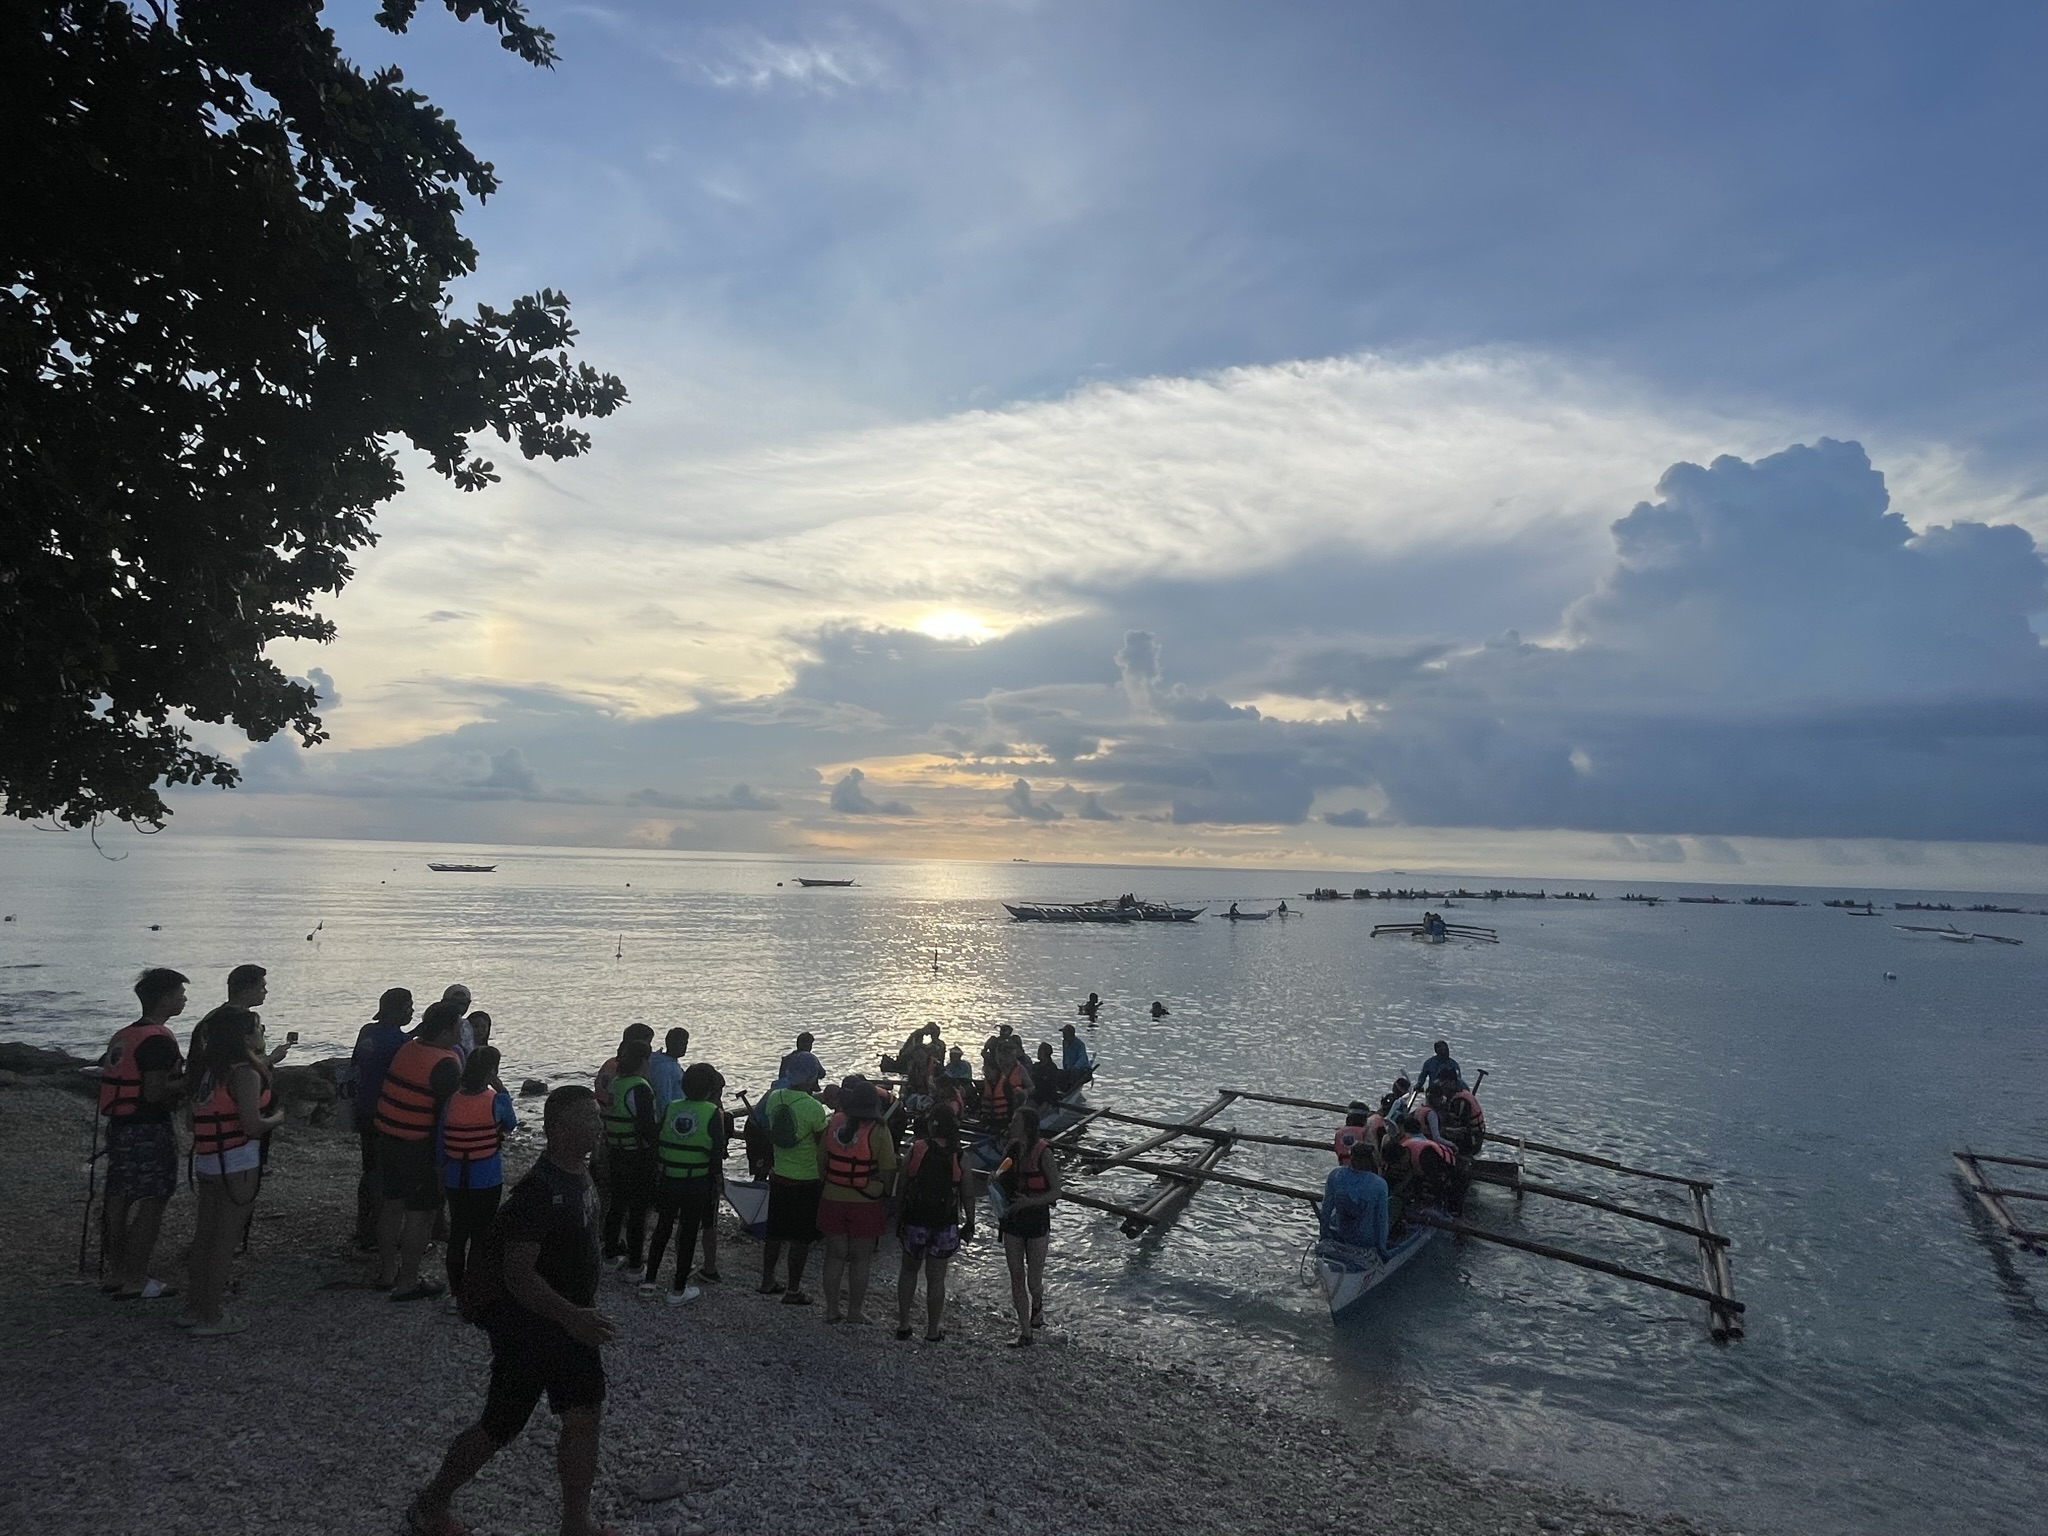
If you are on a tight schedule, pre-organized island hopping tours will definitely give you the sights almost everyone comes to see when in the Philippines.
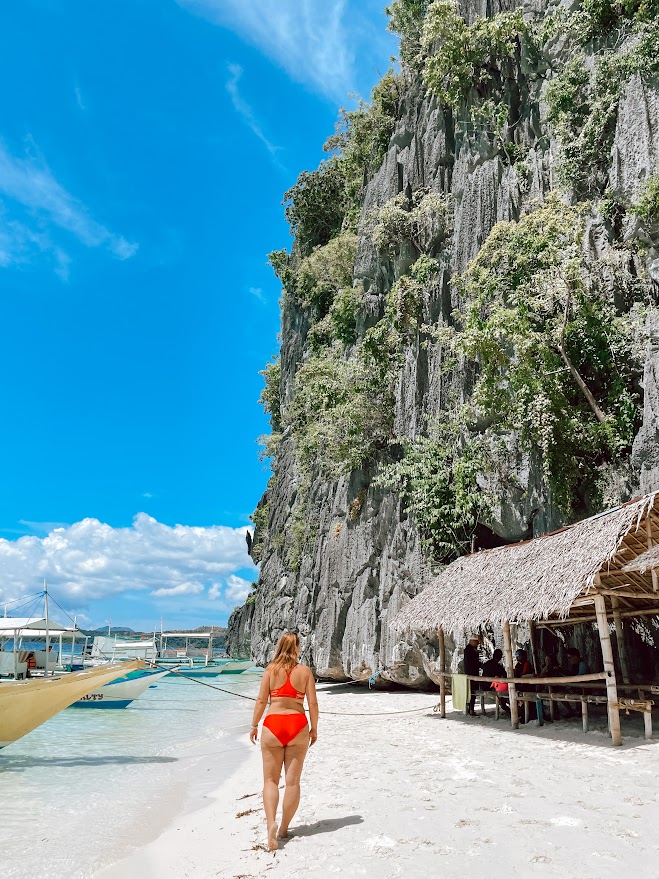
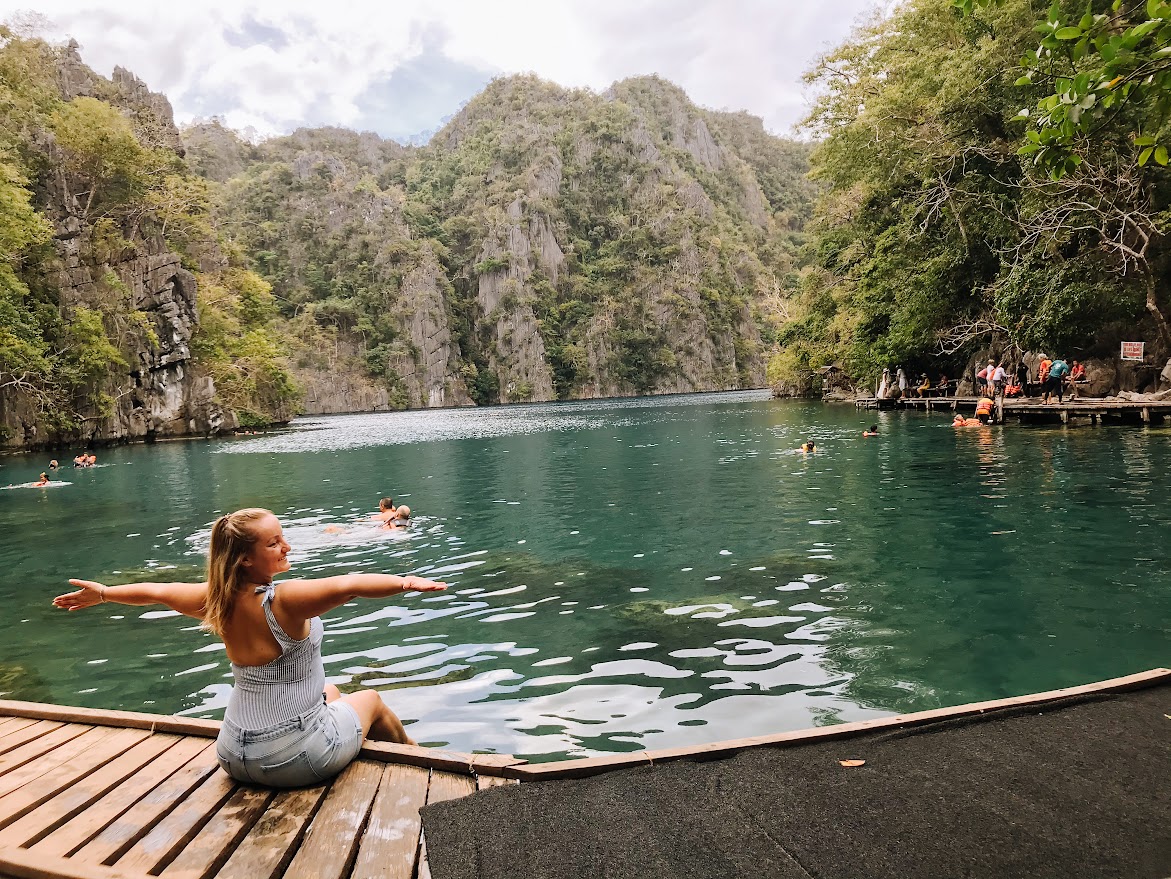
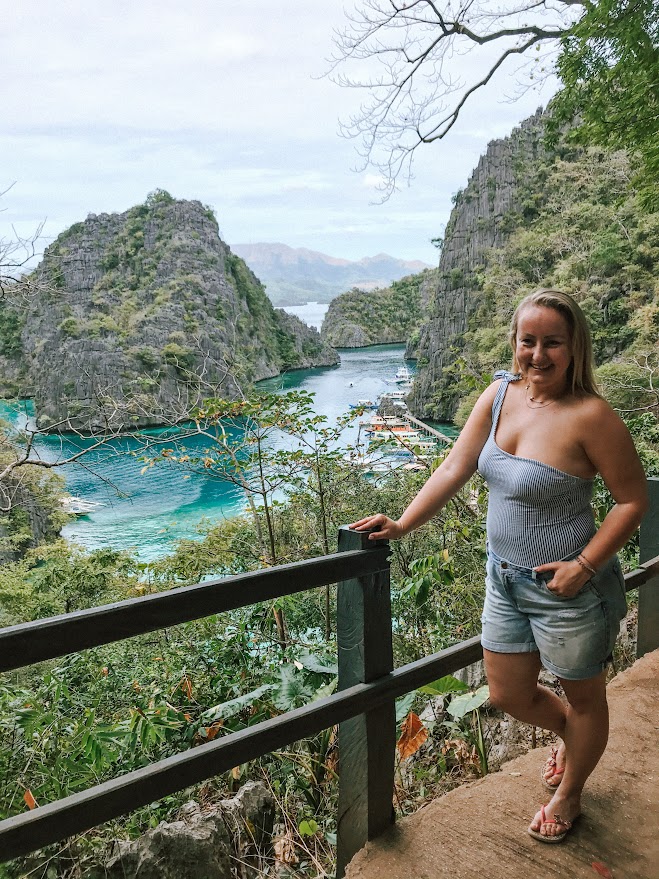
Coron
An example of a pre-organized popular tour in Coron is the “Super Ultimate Tour” including must-see places like Kayangan Lake, Twin Lagoon, Barracuda Lake, Coral garden and CYC /Banol Beach.


El Nido
The example of the favorite tours in El Nido are Tours A, B, C and D. Tours A and C are those everyone raves about and are the most visited spots. They include places like Helicopter Island, Secret Beach, Hidden Beach, Talisay Beach, Big Lagoon, Shimizu Island and the 7 Commando Beach.


If all this is a bit too much repeating, I would also consider booking a private boat tour. It may be a bit more costly but you get to spend as much time as you wish at whichever spot you like best. But believe me, all of them are a paradise on earth.
Cebu
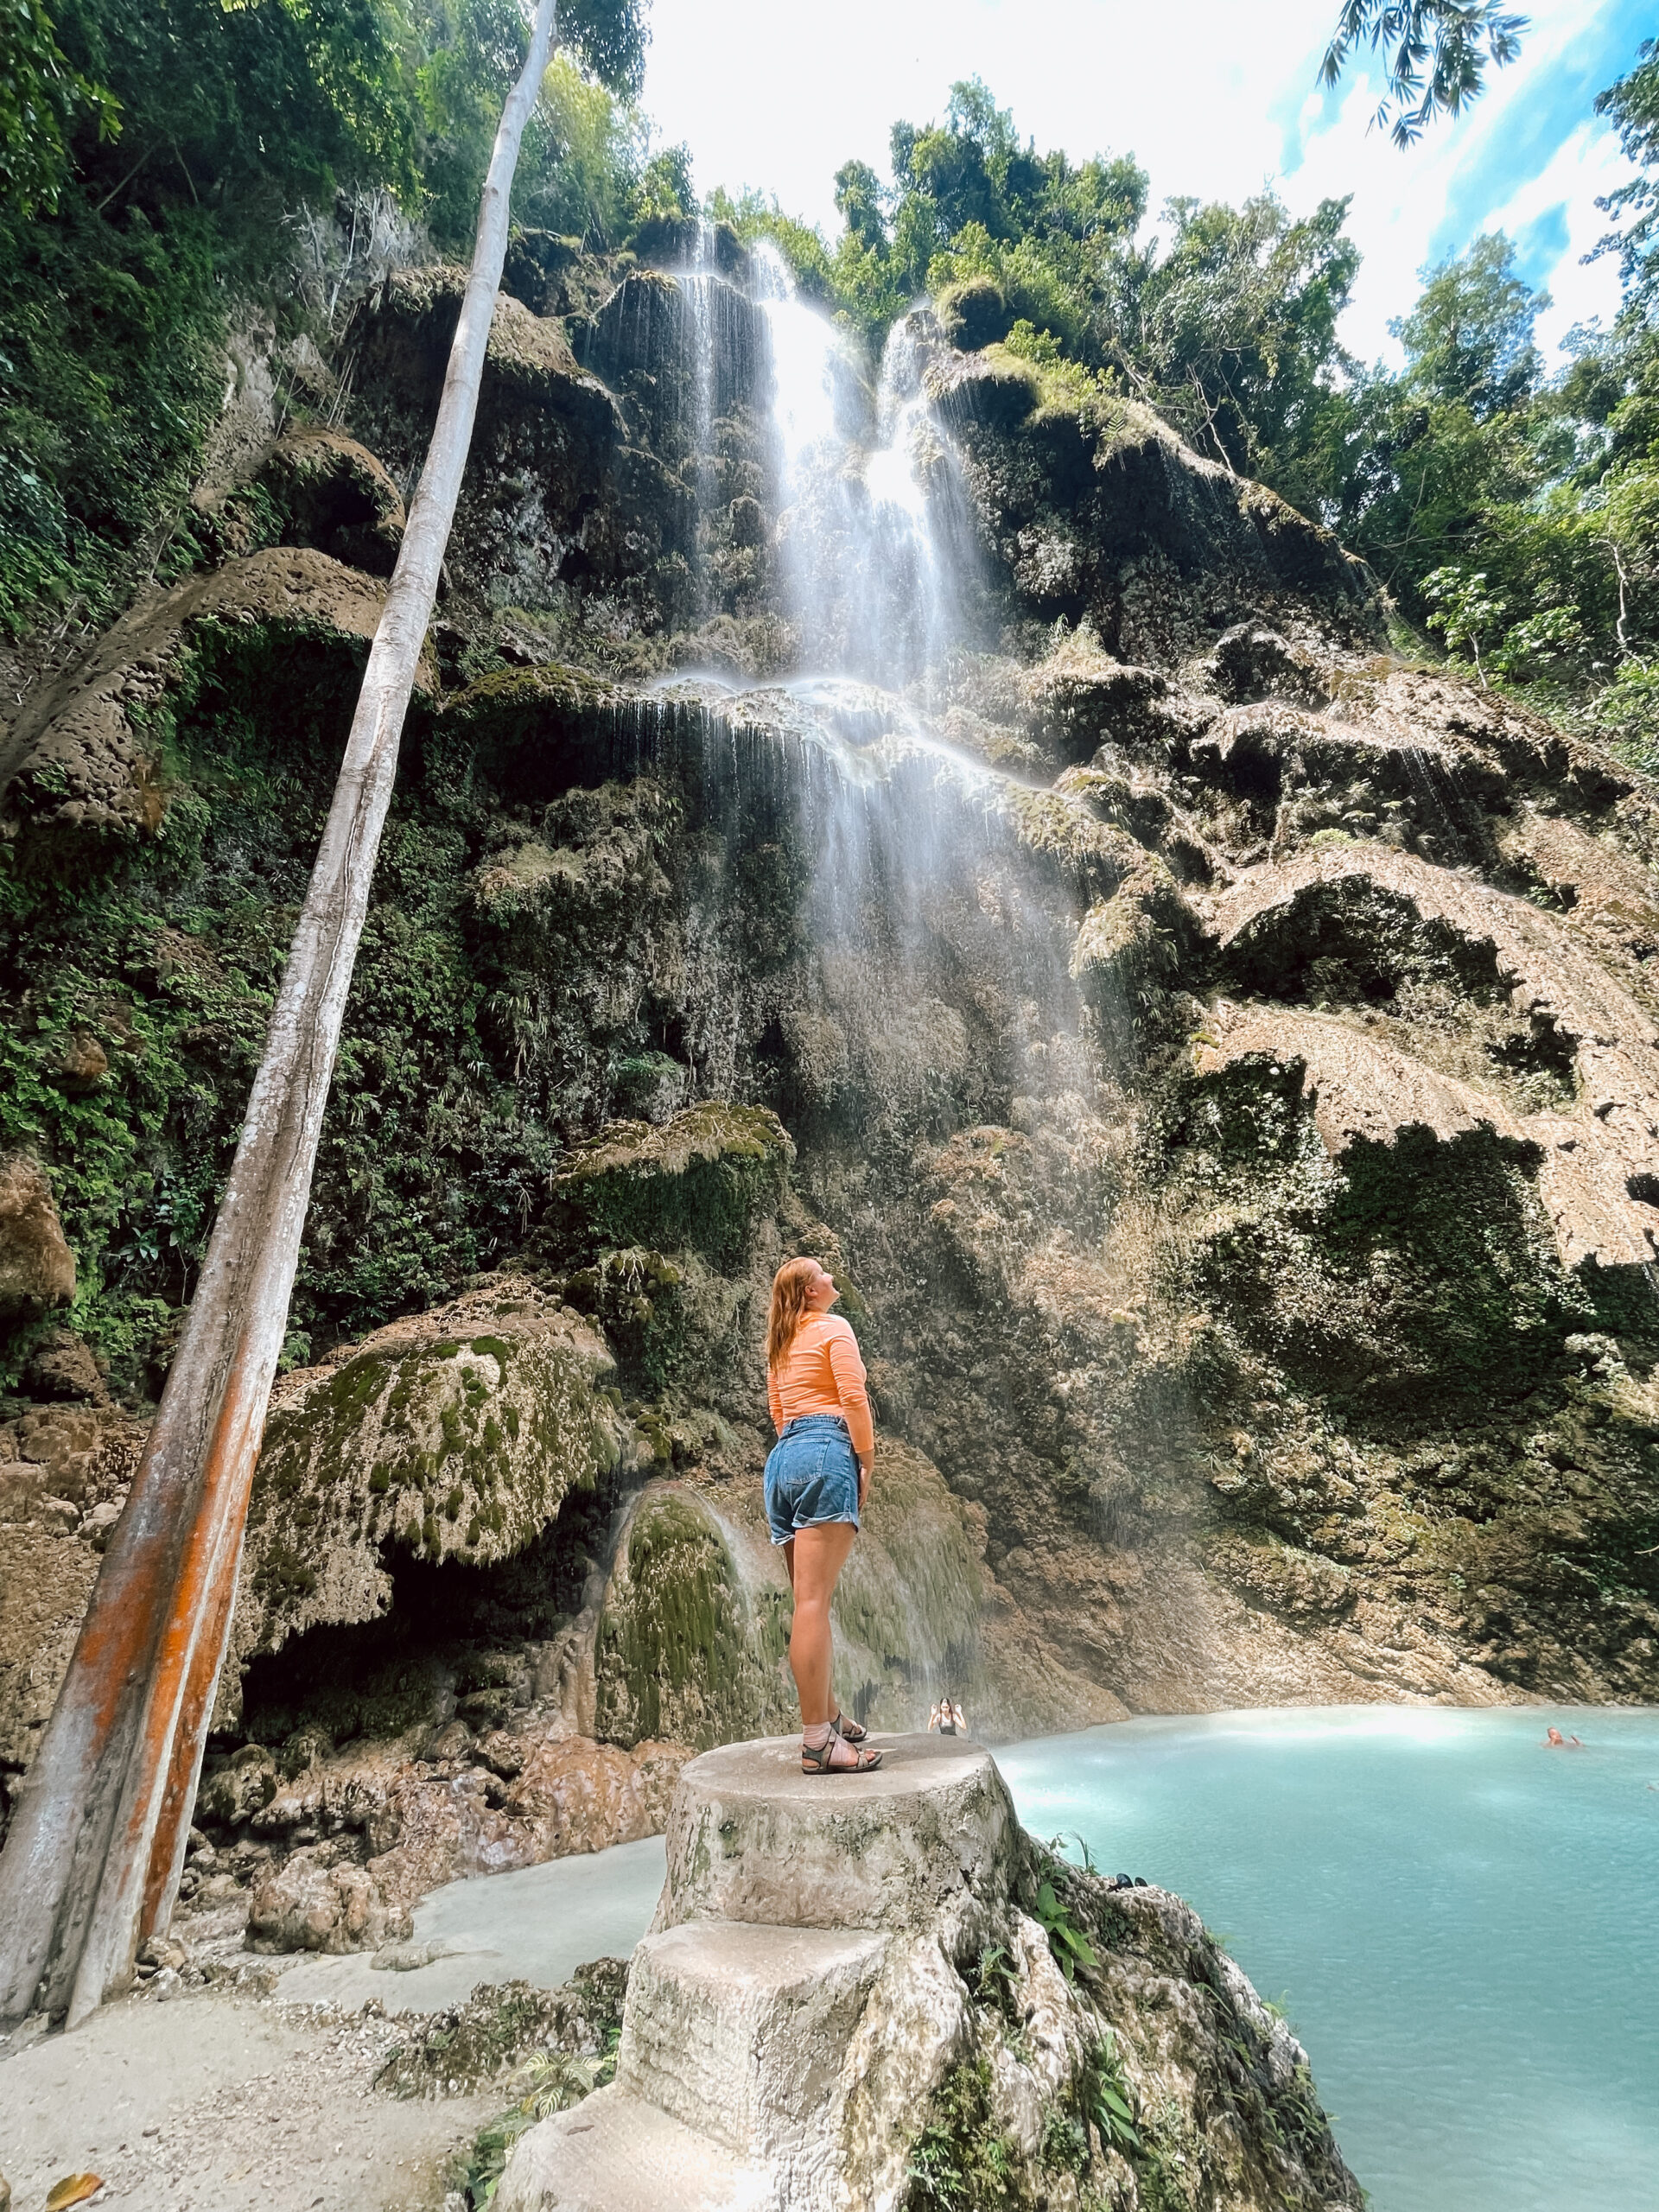
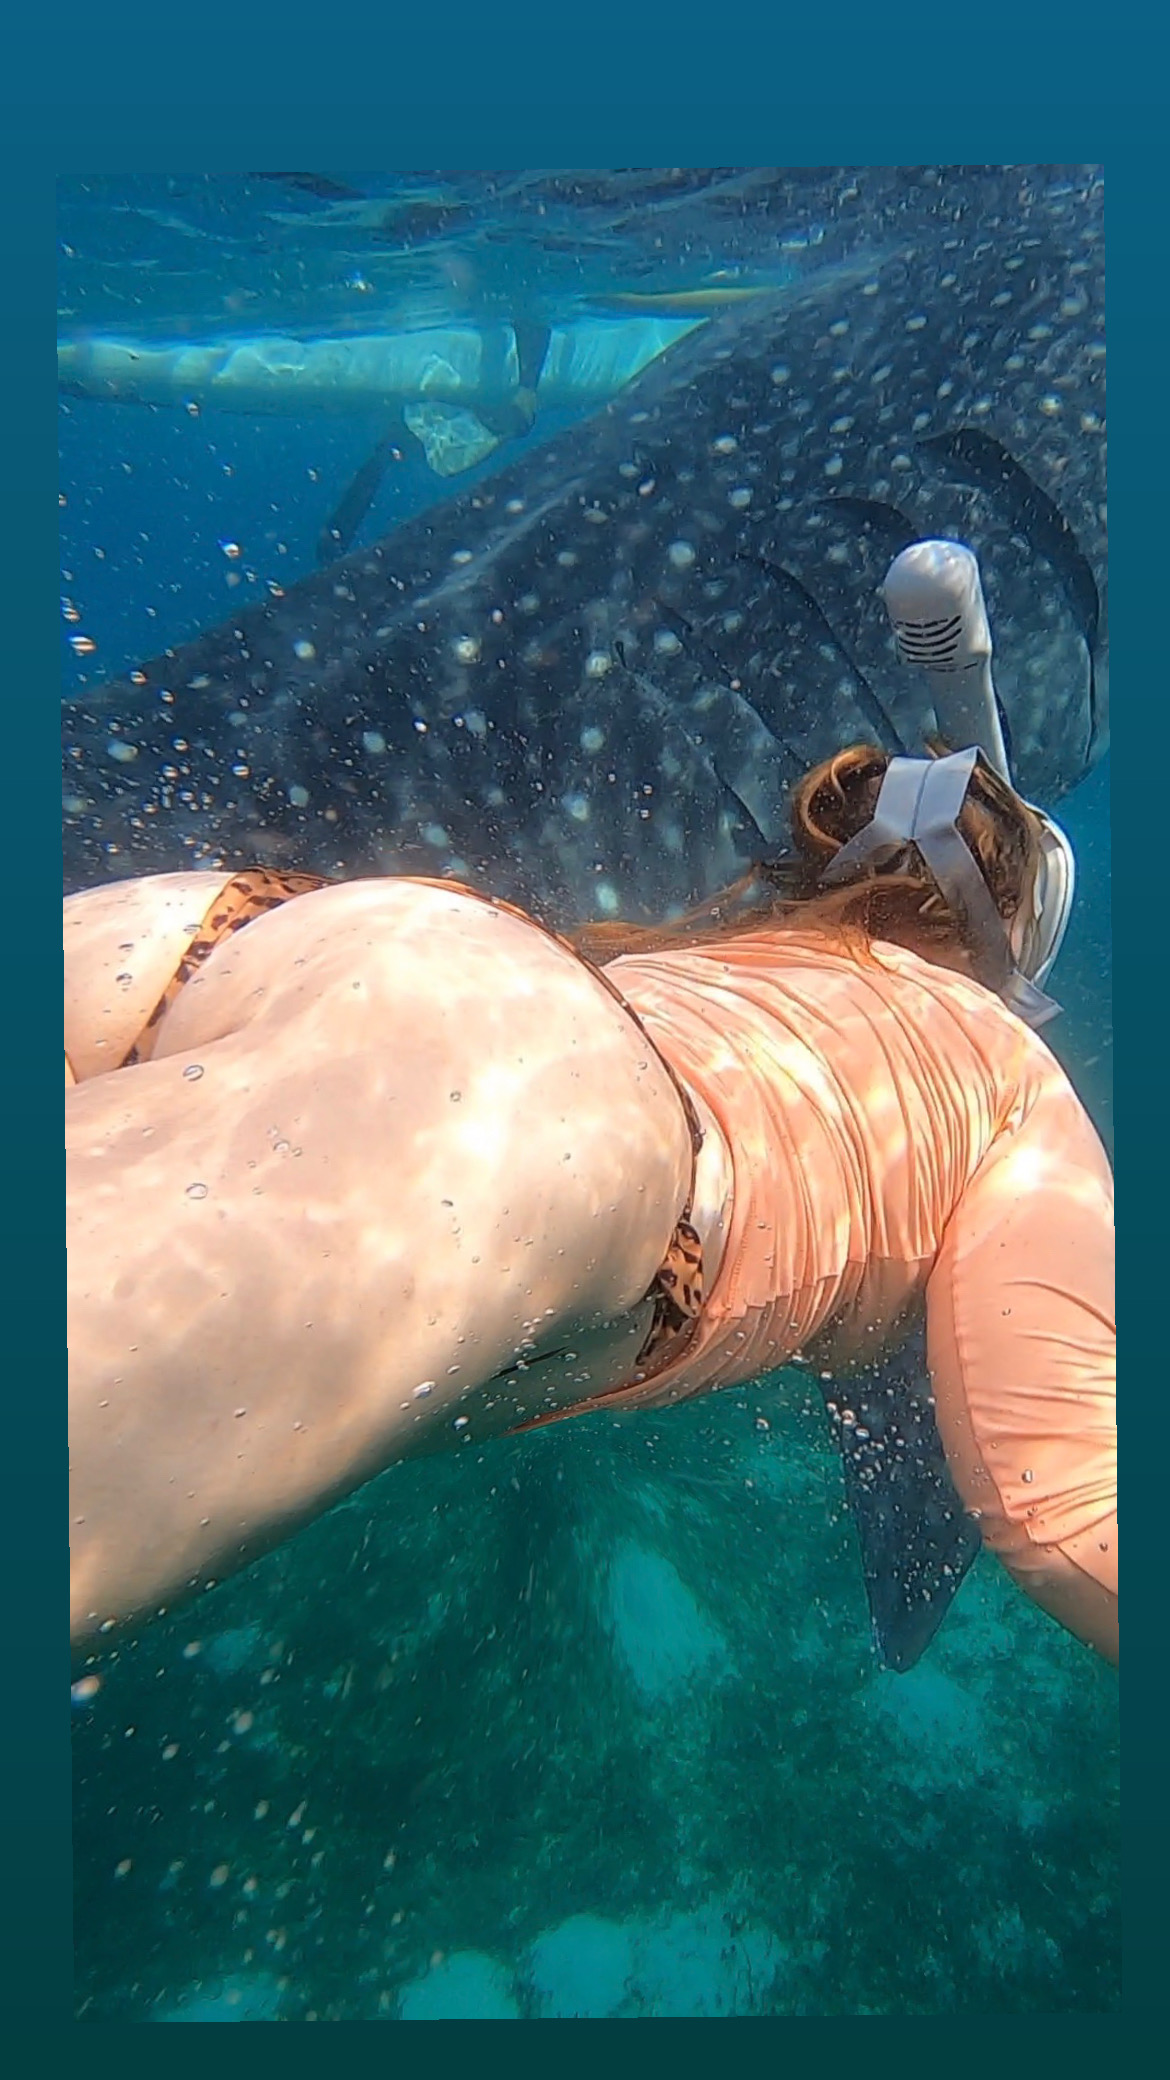
Tours in Cebu generally includes swimming with whale sharks in Oslob, Sumilon Sand Bar (which I would skip), Kawasan Falls with canyoneering, Tumalog Falls (which I would definitely advise you to visit) and a snorkeling tour in Moalboal where you get to see turtles and swarms of sardines.

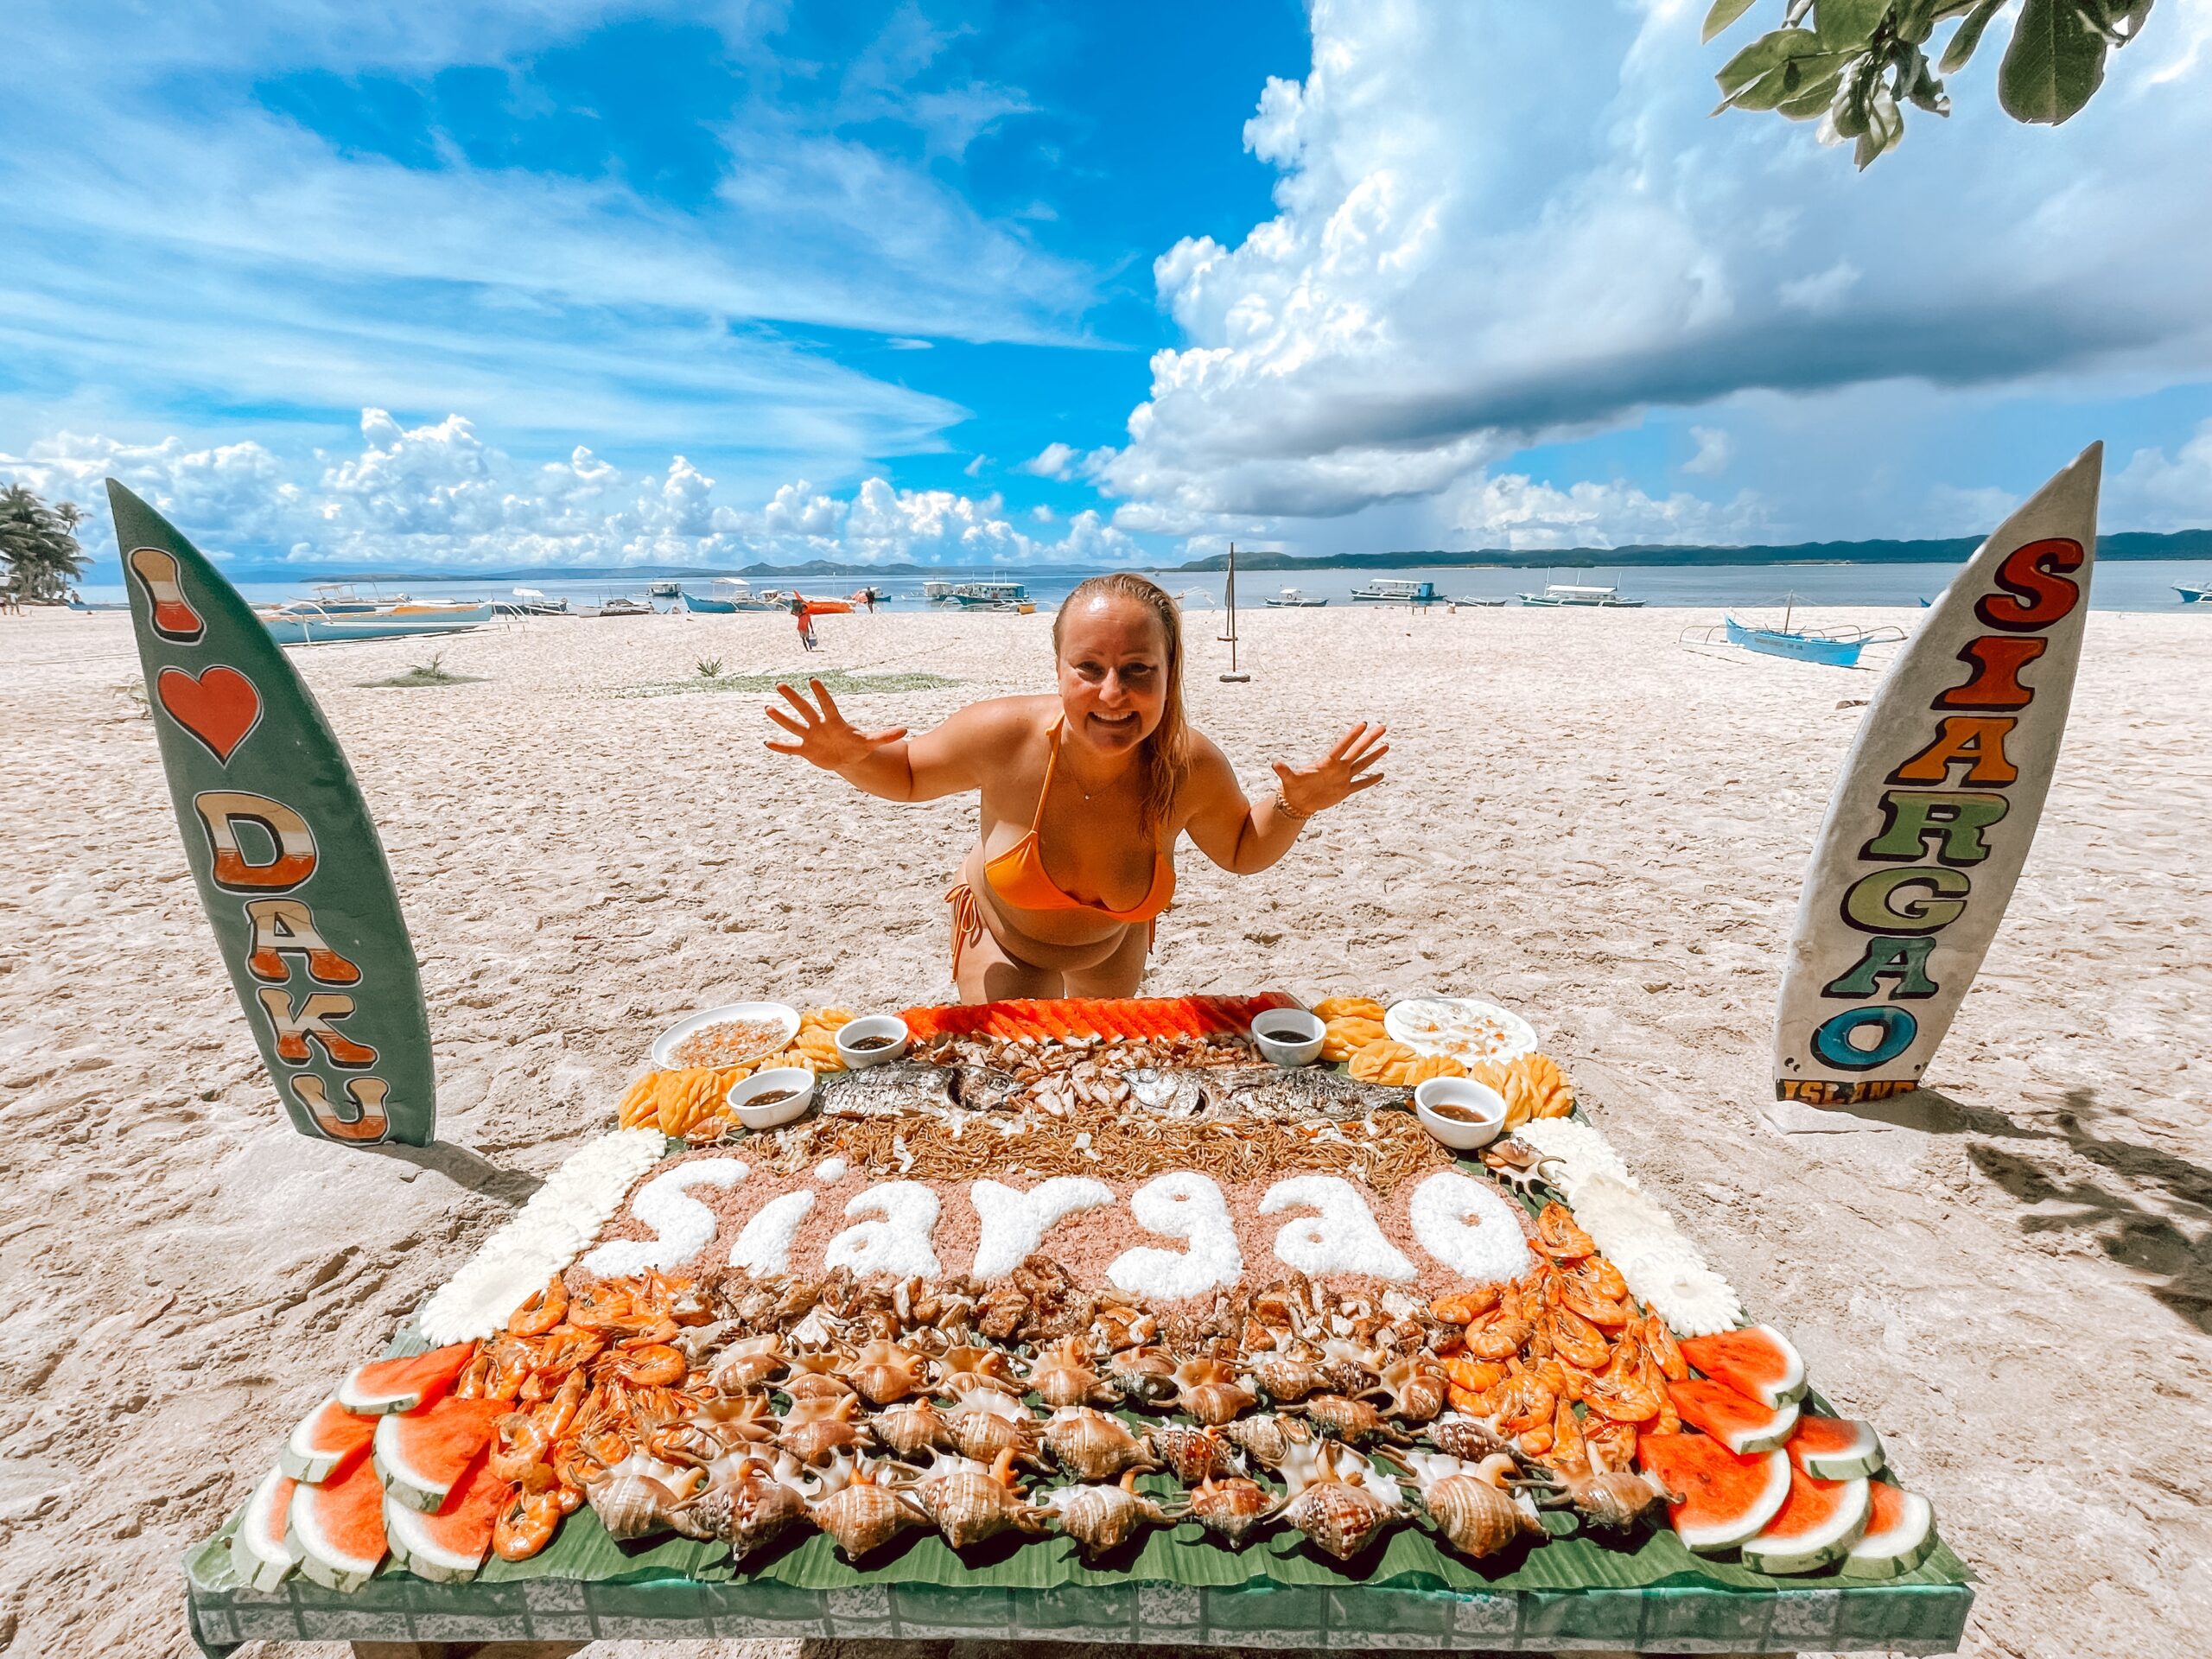
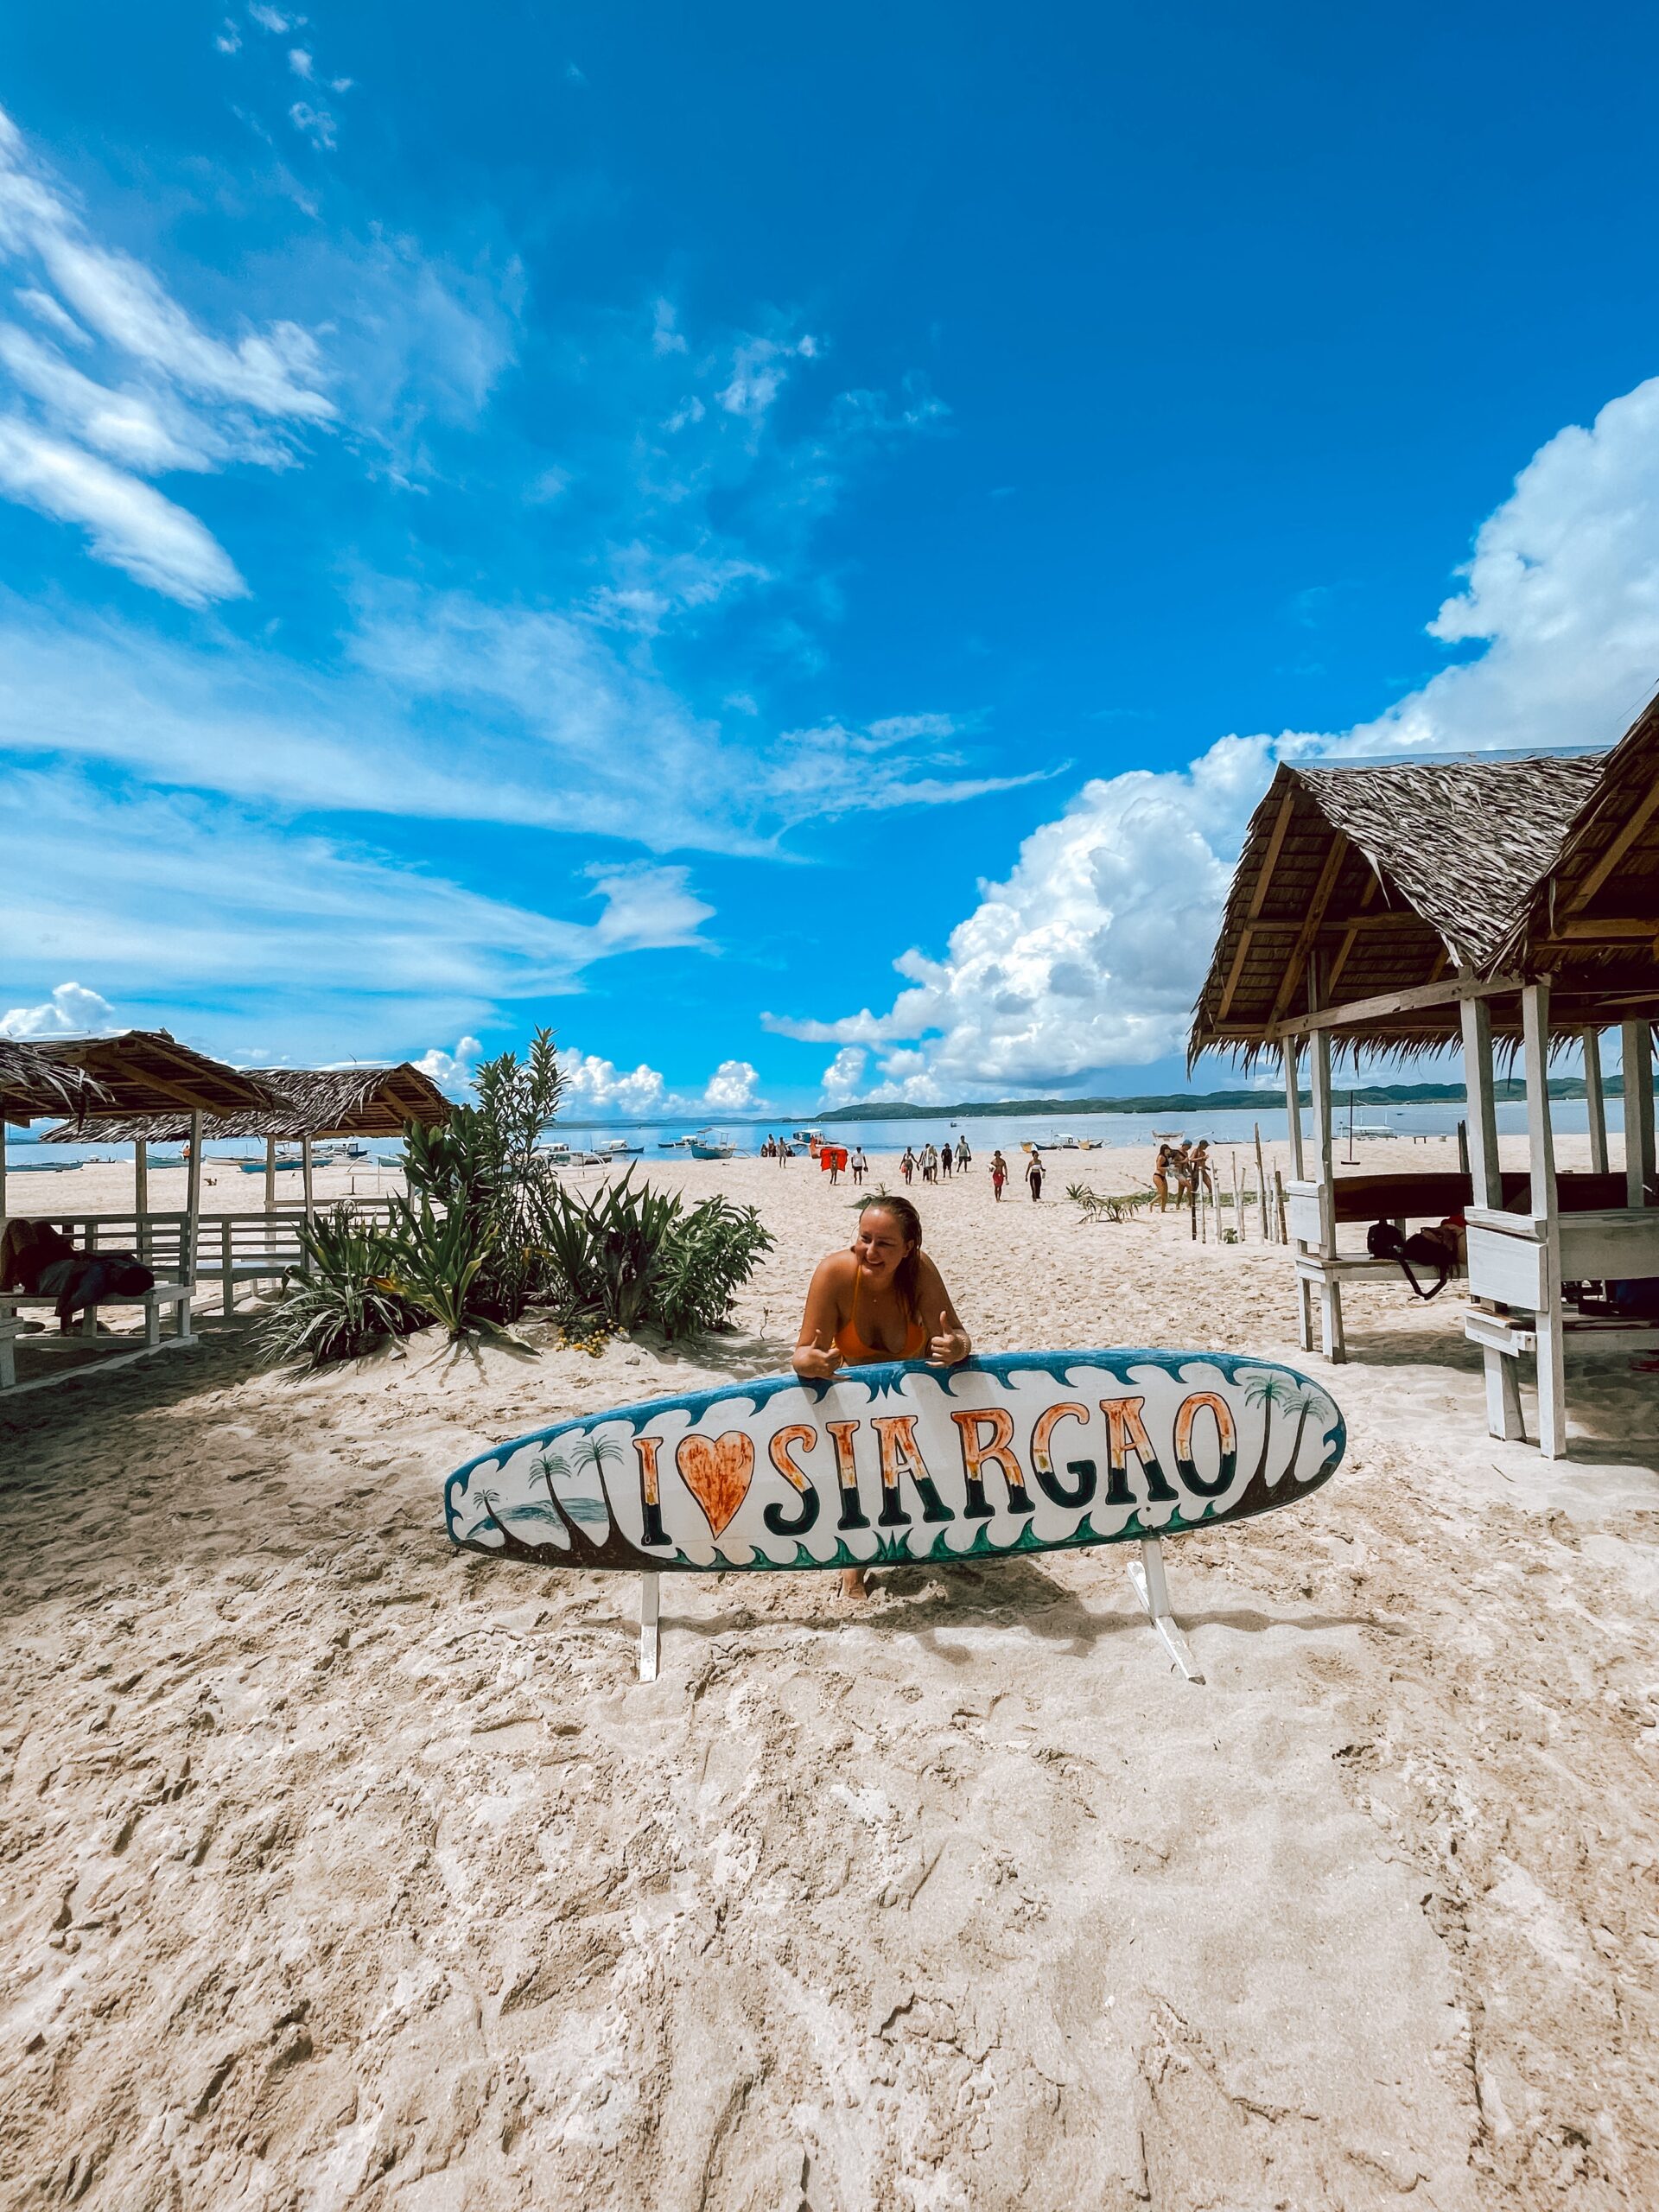
Siargao
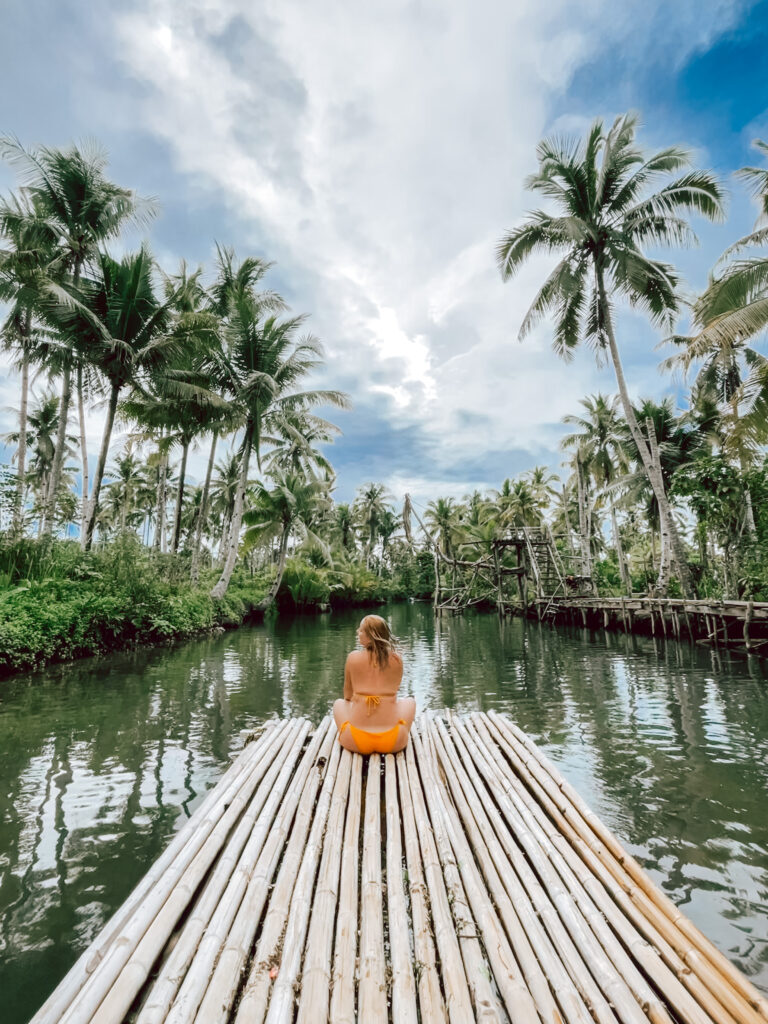
Siargao is an island where you can definitely do a lot of exploring on your own. Places like Maasin River, Coconut Trees View Deck, Cloud 9 surfing area, Alegria beach, Danjug Cave or the Magpupungo tidal pool are all easily reachable by motorbike or car.
An island hopping tour in Siargao mostly consists of 3 islands – Daku, Guyam and Naked Island. The islands, esp. Daku and Guyam are beautiful but mostly very crowded and generally used for pretty photos. Guyam is literally an Instagram photo op island. It offers many photo spots like swings in the sea, nests on the beach and even tour guides doing free drone shots for their tour members.

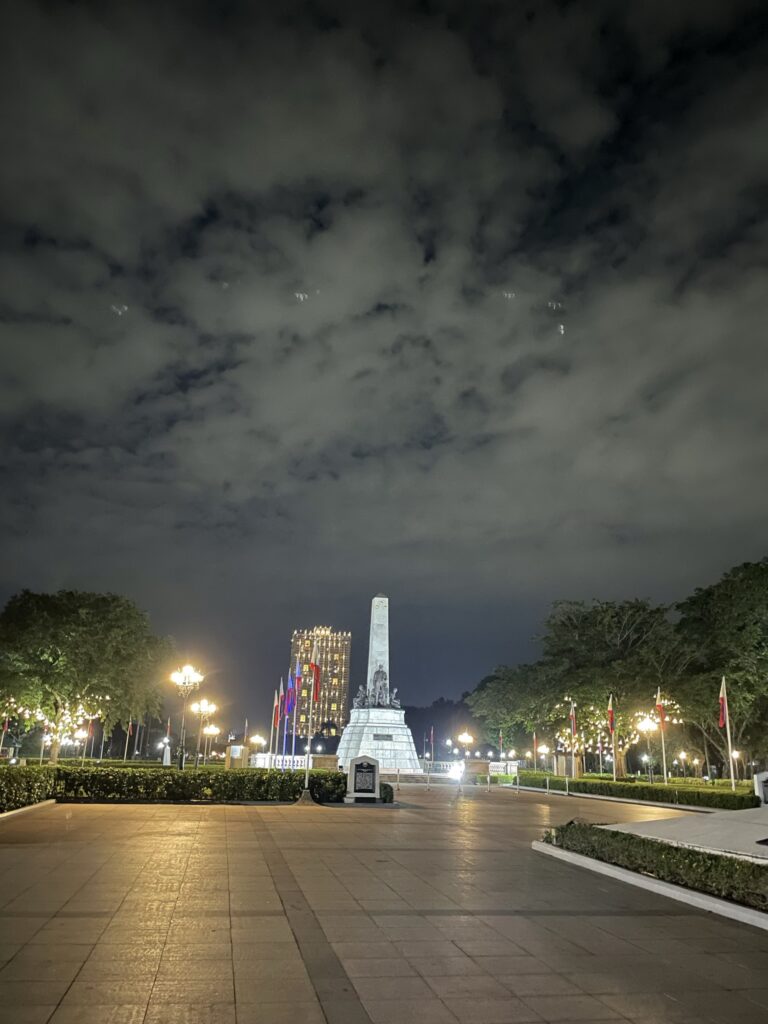
Manila
Visiting Manila should also include a few important spots of the city like Intramuros, Fort Santiago, St. Augustin Church, Manila Cathedral and Chinatown (the oldest one in the world).


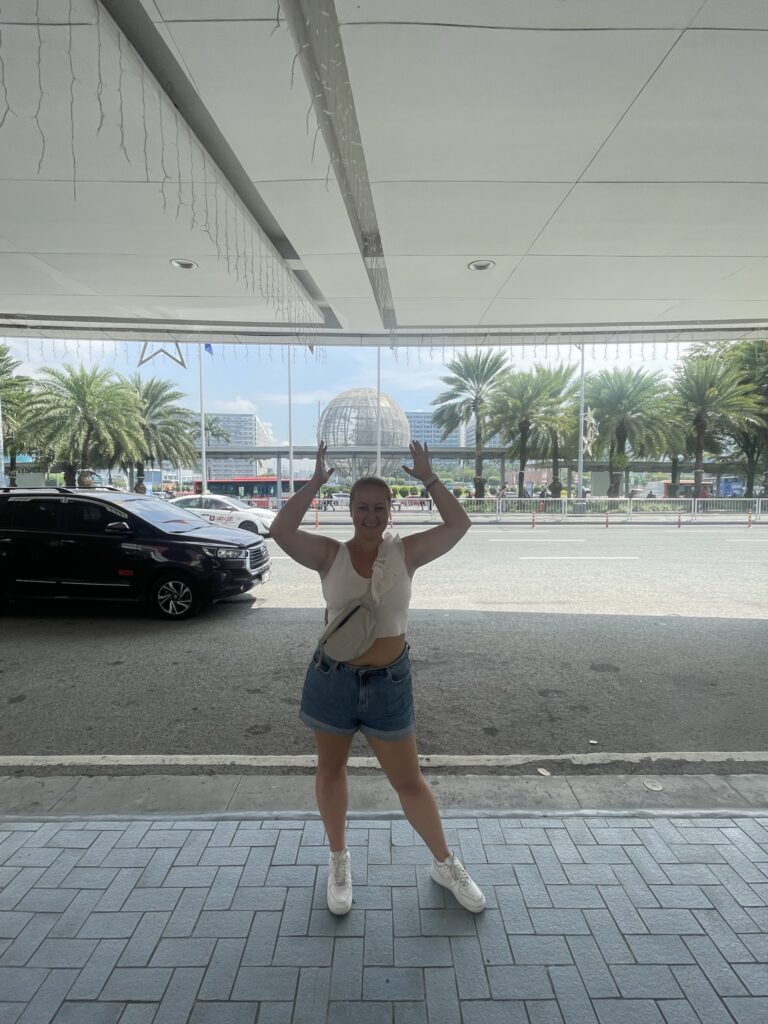
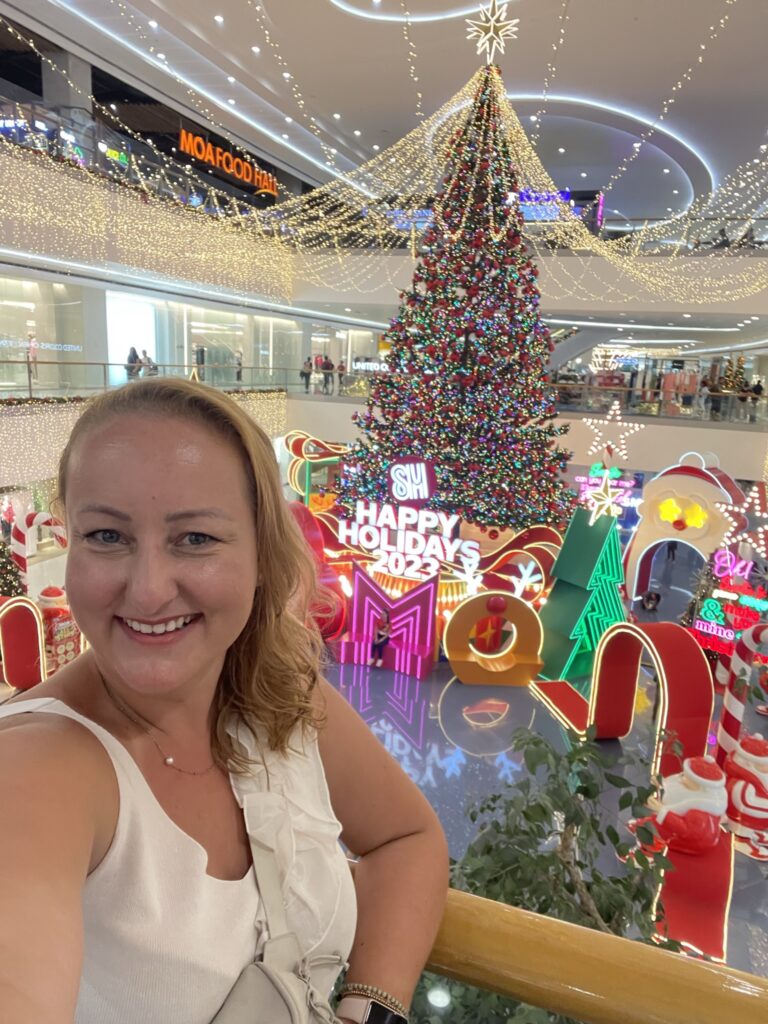
If you have more time, visiting the Taal volcano (the second most active volcano in the Philippines) is an exciting idea. If you are in for some over-the-top shopping, look no further than the Mall of Asia. It is one of the biggest malls in the world which screams Christmas from as early as September.

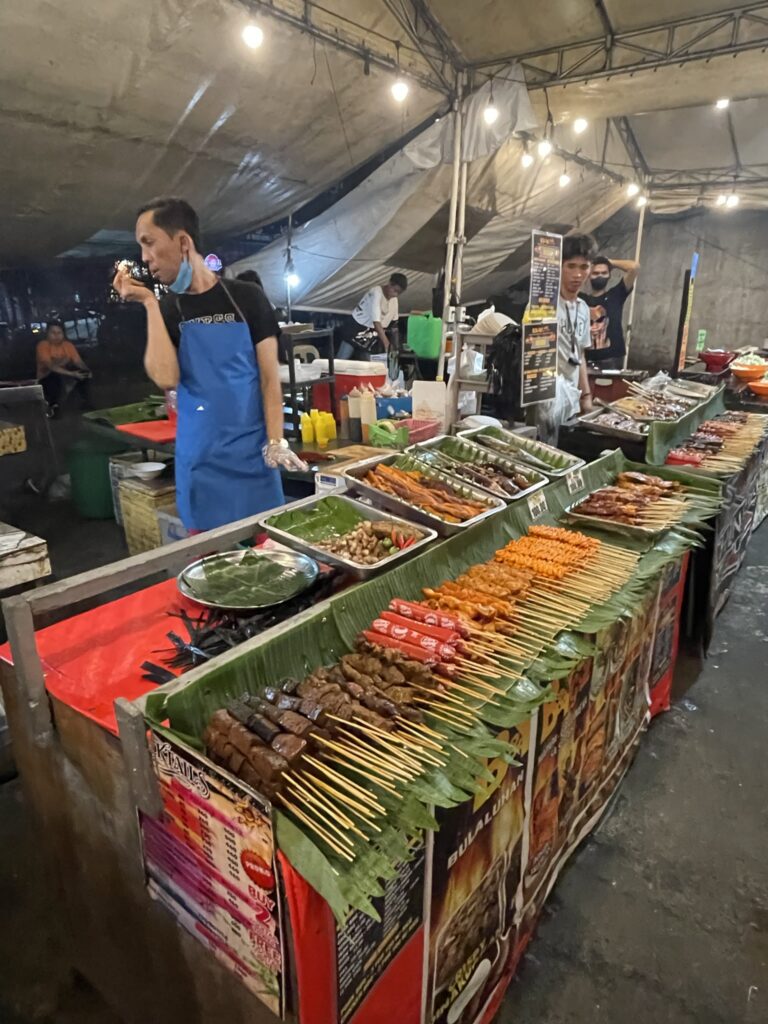
7. Food & Drinks
Although Filipino food is not in my top 5, I would always concentrate on the positive. So here are a few ideas of what you might want to try when in the Philippines.
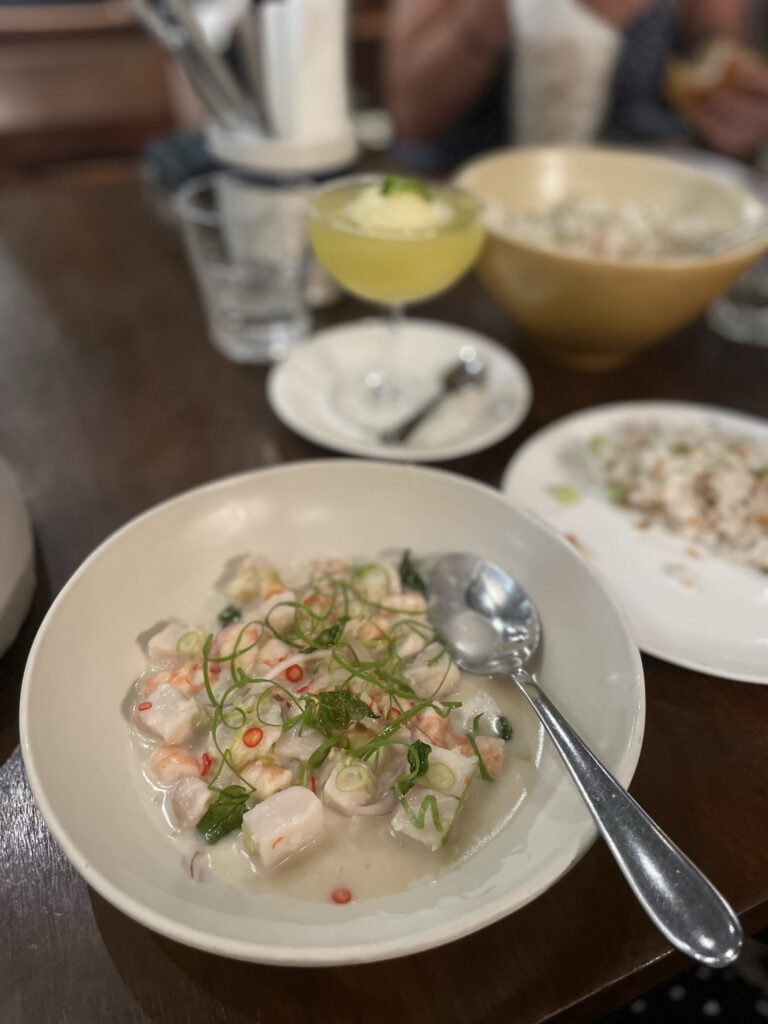
Kinilaw – if you are a fan of sushi or ceviche, this will be an interesting meal for you to try. It is a seafood dish, where fish is marinated in vinegar and calamansi juice.
Calamansi – don’t get me started on this one. I have never tried anything like it and simply adore its taste in salad dressings, meat dips just as well as in lemonades. It is a little fruit resembling a baby lime but with a very specific, tangy taste.

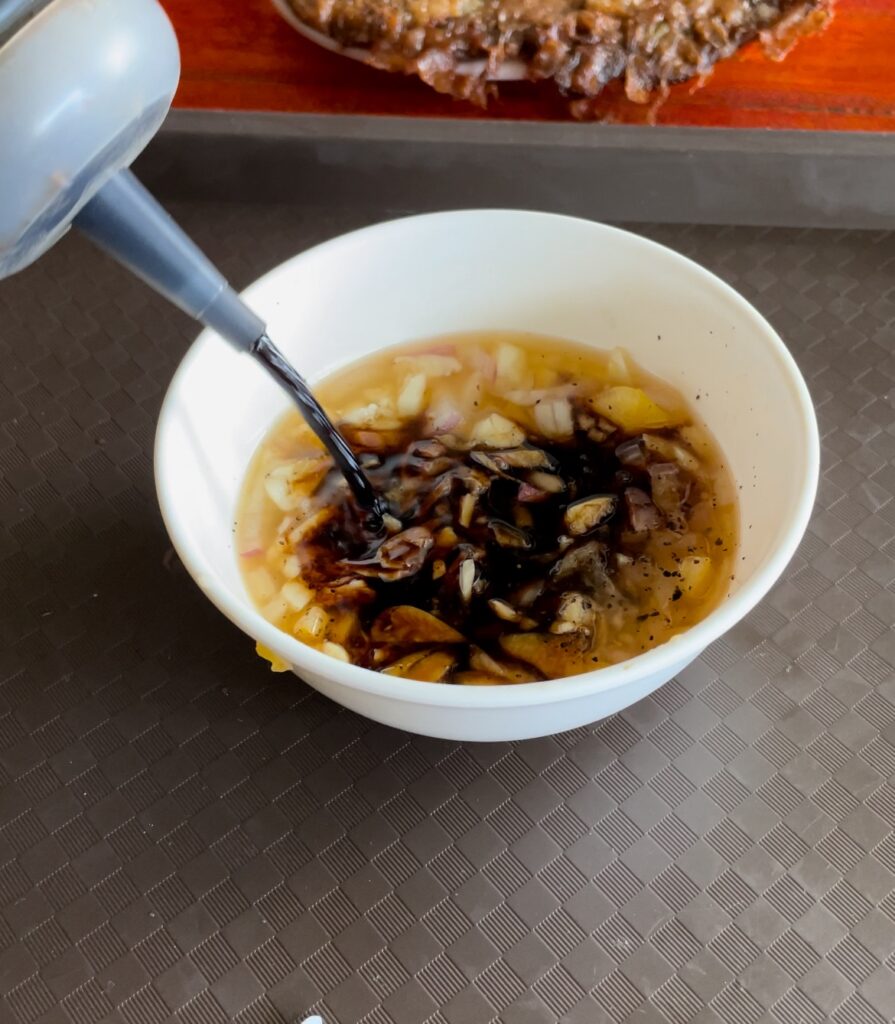
Sawsawan sauce – it is a sauce often eaten with grilled meat & rice, made with light soy sauce, vinegar, calamansi juice and diced onions, tomatoes, green chilies… I miss it already.
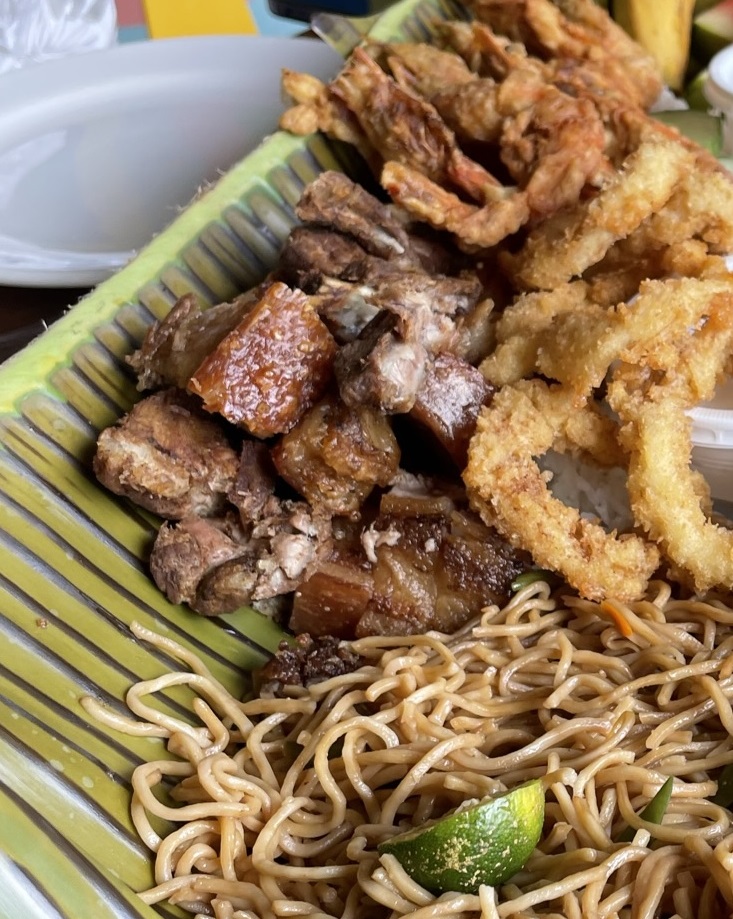
Sisig – I guess this is just one of those meals you might be skeptical about at first but would get surprised after tasting. It literally means – sizzling, because that is how you will get your pork served on an iron skillet. It usually comes with rice and calamansi halves.

Lechon – when I heard the specialty of the Philippines is a suckling pig roasted whole over charcoal, my first thought was “Wait, you mean like “odojak na ražnju”? Coz that is exactly what you would get from Lechon. The spices and serving it are obviously different but my general opinion was – I guess they have more in common with Croatians than they would ever guess.
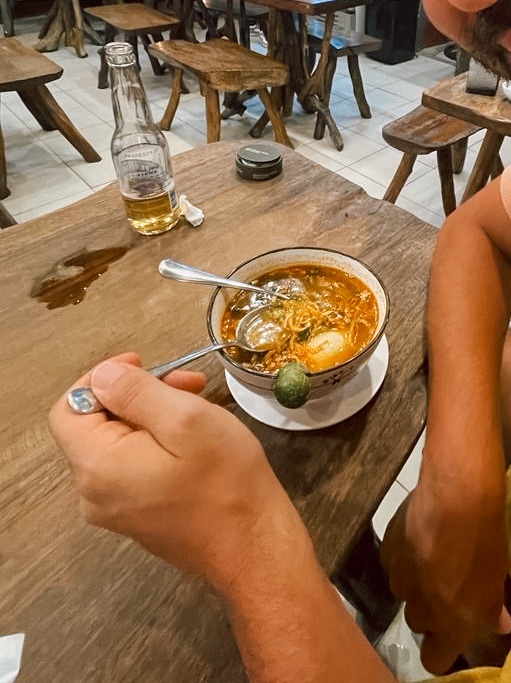
Chaolong – A soup I enjoyed so immensely that I completely forgot to register it with my camera. It had a rich and flavorful broth and of course, spiced up with the addition of calamansi. For me, it was a must-try. I had one in El Nido in Wilnags Resto and would definitely go for more.
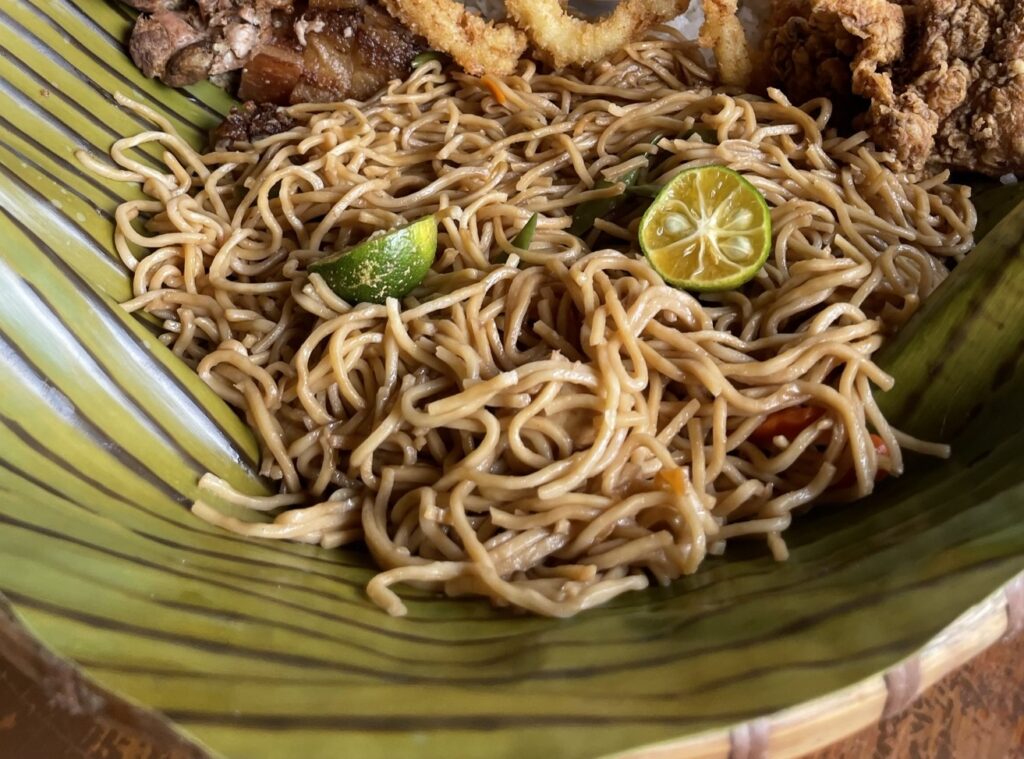
Pancit – let the name not confuse you, this is the meal even the skeptics will enjoy because it consists of fried noodles & veggies. As simple as that. Oh, and calamansi, of course.
Tortang talong – it is a very simple veggie meal I really enjoyed and will try recreating at home. It is a grilled eggplant that you strip from its skin, smash till flattened and then fry with eggs. It is so simple yet so delicious.

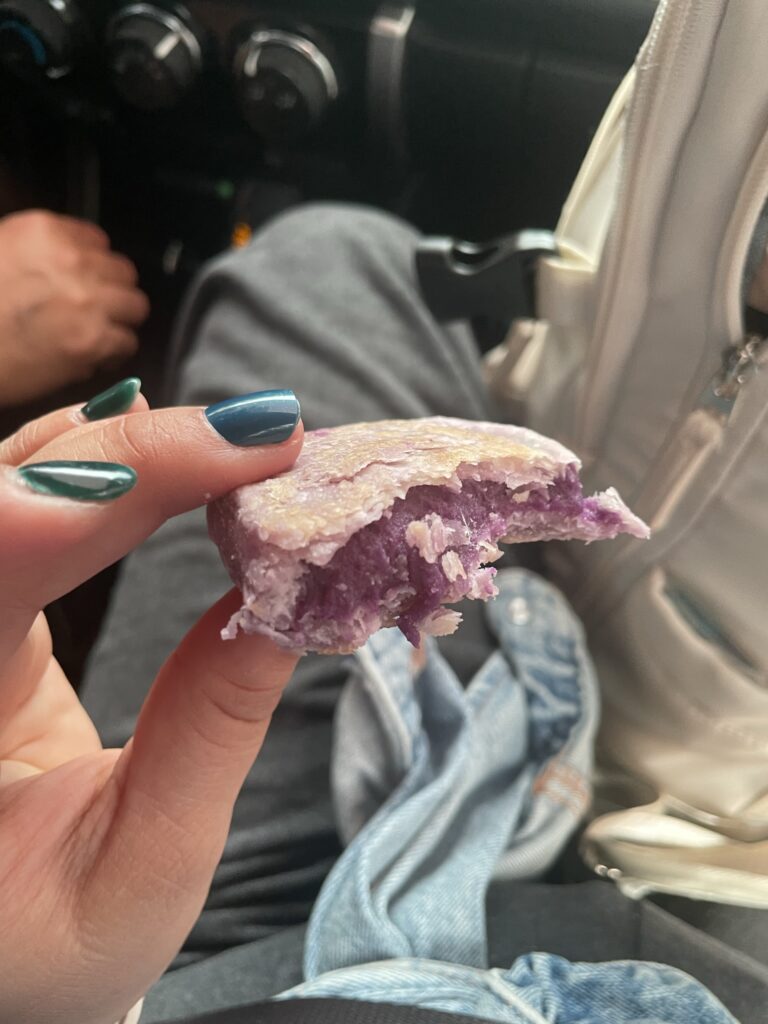
Halo-Halo – I guess this dessert is not going to be for everyone’s taste, but when in the Philippines, give it a go at least once. It consists of shaved ice, condensed milk, ube ice cream and a lot of different candied jellies, beans and snacks inside. I always sort of wished it consisted of more ube inside, and then I found out about Ubeng-Ubeng. Heck yea!


Ube– it is a purple yam, with sweet potato consistency but a special kind of flavor you either love or adore. In the Philippines, you will find it in many different products, from cakes, snacks, and crackers to ice cream, sauces and of course, in halo-halo. I wish we had Ube ice cream in Croatia, coz I would be doing it a daily free commercial. One more snack you may enjoy if you like ube is Hopia – literally an ube paste-filled mooncake with a flaky pastry outside and a juicy ube filling inside. I tried it freshly made from a bakery and it is unlike anything else.


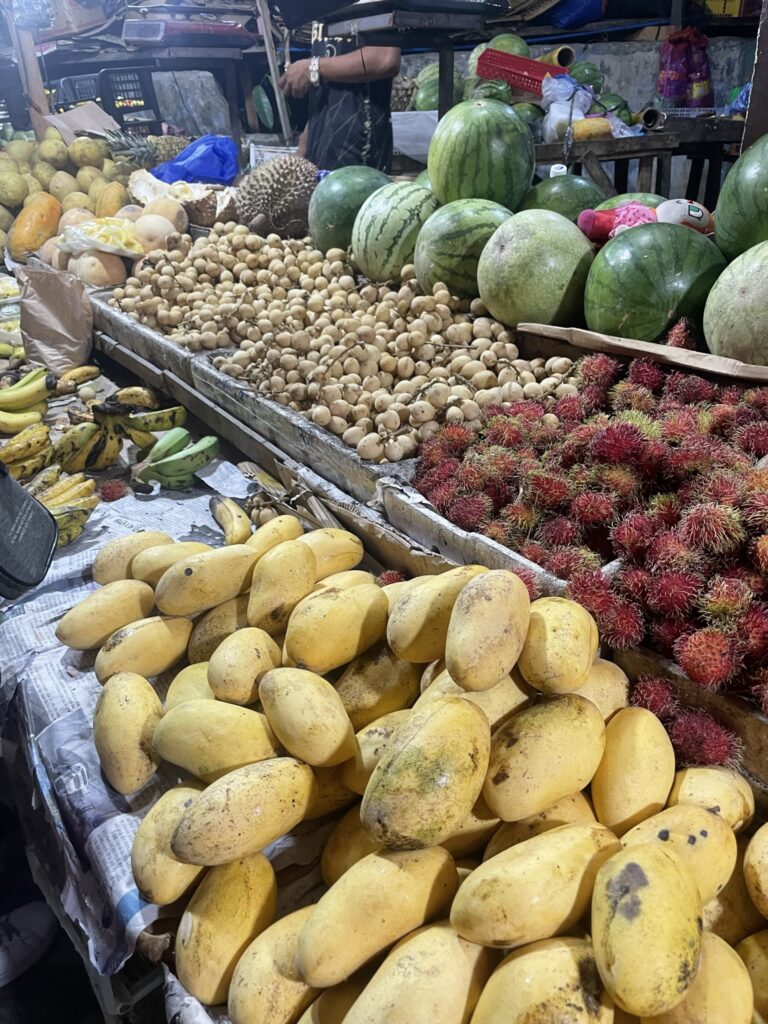
Mango – don’t you say you have tasted mangos till you taste those in the Philippines. I think I would live on Mango shakes, smoothies and bowls if I moved there. The most famous ones are from Cebu, but they tasted amazing to me on whichever island I was at.

Jollibee – your Filipino experience will not be complete if you have not eaten at Jollibee. Most Filipinos are crazy about this brand, as much as some are crazy about McDonalds. I have eaten a few of their meals and liked them all 100% more than any of the meals I ever had at McD, so you have my blessing 🙂


8. What to bring with you
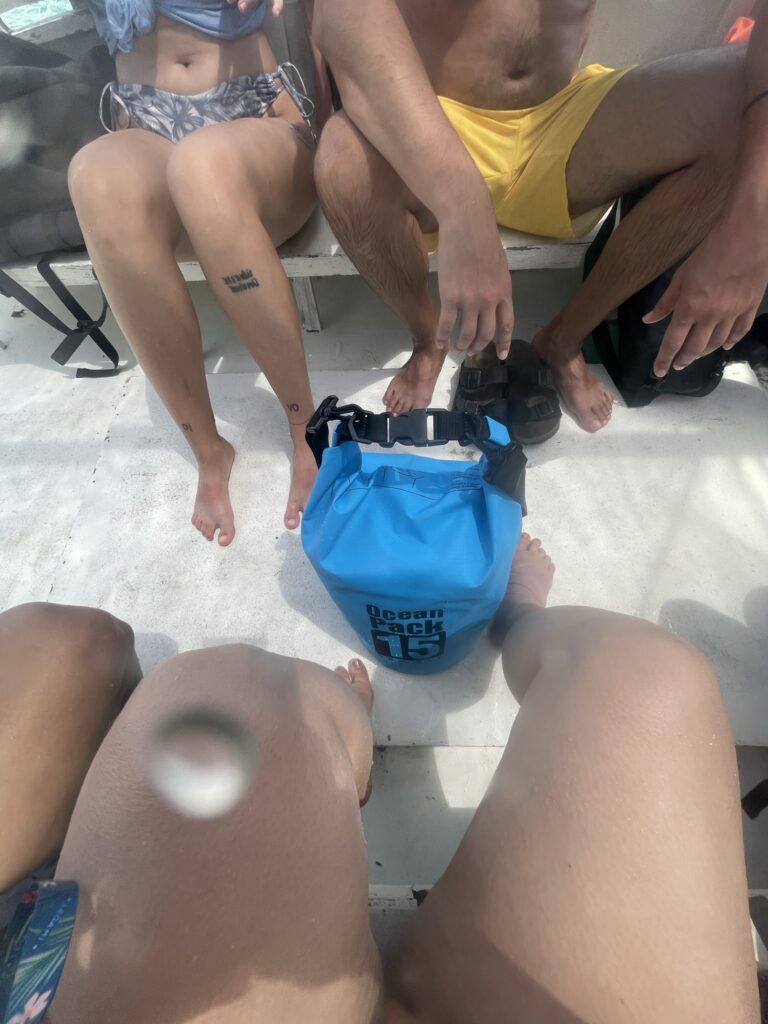
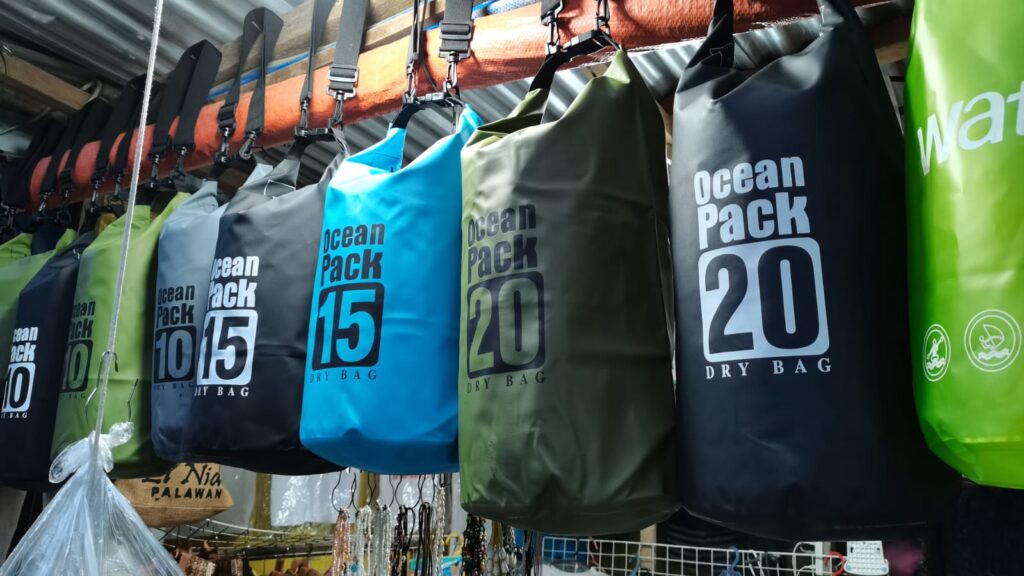
Dry bag – As soon as you step onto a boat tour without a dry bag, you will realize why this is a must-have. I would even advise you to get one just before your first tour at one of the markets (my friend Joseph managed to handle the price of mine to just 5 EUR and online I would have paid at least 15 EUR). Make sure it is thick and big enough for what you may consider to bring with you on the tour. I got a 15-liter bag and it was the perfect size for me. I even used it as a “personal item” bag for my flights around the country, so it was a win-win.
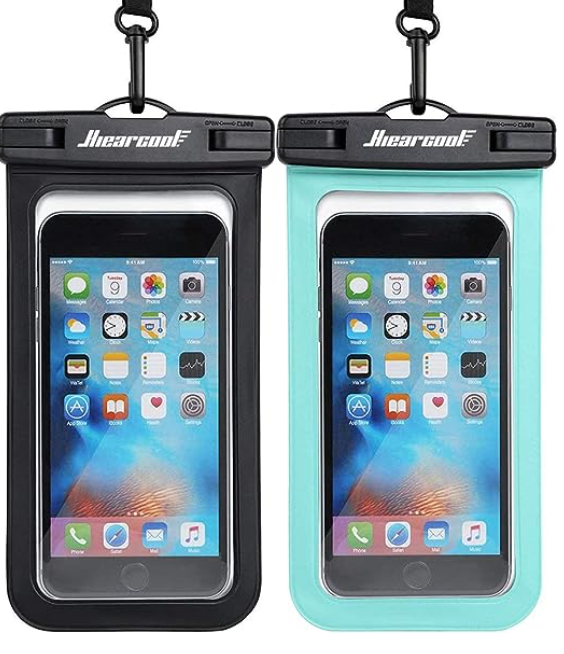
Waterproof phone pouch – You may want to purchase a waterproof phone bag in advance, since most of those sold on the spot are of a lower quality and this is simply something you may want to invest in, to have your phone safe at all times.
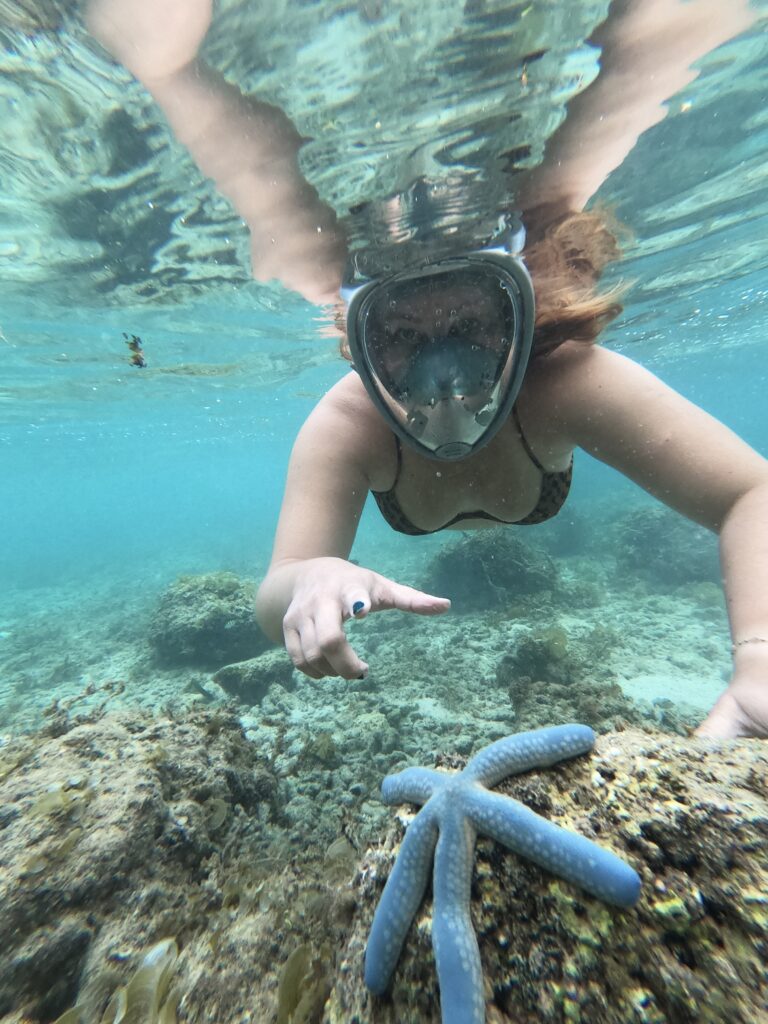
Go-pro / Underwater camera – Of course, it is not a must, but if you have one, make sure you have it with you since much of the sights will be happening underwater.
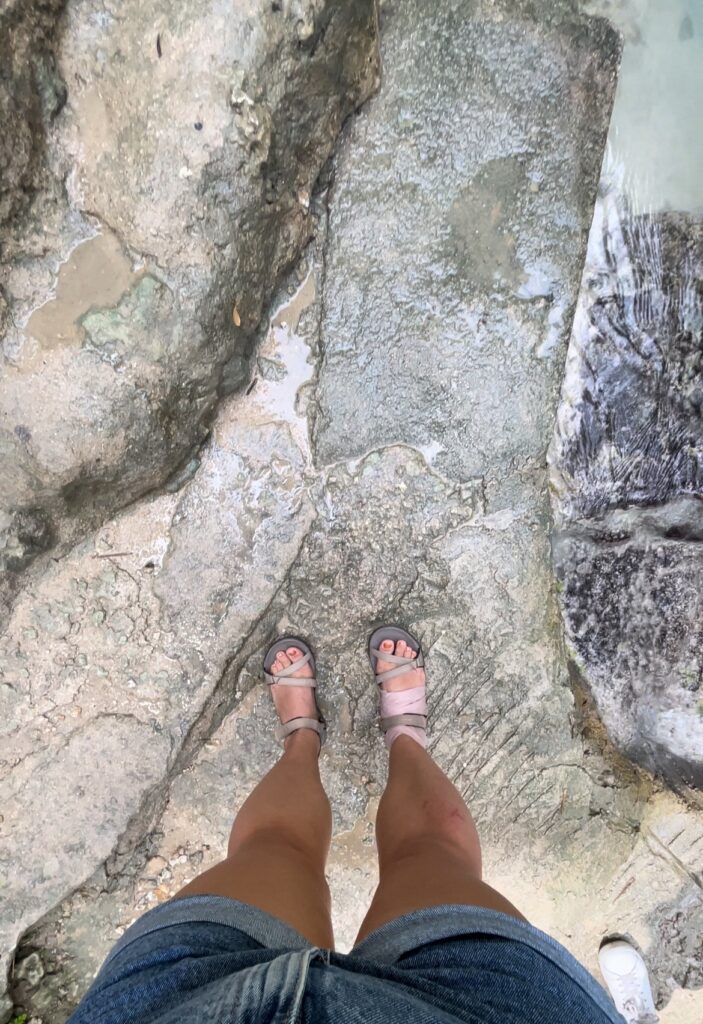
Water shoes – We Croatians feel it is below us to wear any type of slippers or water shoes while going into the sea. Go beyond the pride, trust me on this one and bring your own pair. It does not have to be the not-so-stylish grandma slippers for the sea, but you definitely do need shoes to wear around slippery, sharp and uneven underwater surfaces. I brought the Teva trekking sandals instead of water shoes and they protected me perfectly (as much as they could). If you don’t bring your own, you will simply end up paying for a pair during each tour since they will be required.

Snorkeling equipment – Same advice as for water shoes goes for snorkeling equipment too. This is almost never included with your tours and costs an extra 150-250 PHP each time. If you plan to snorkel often, it is a cheaper option to buy a set then to rent it every day.
Sunscreen – and I am talking 50+. Protect your face and body and enjoy the paradise beaches without consequences. I would also advise you to have a light shirt and a cap while riding the boats, as well as a T-shirt while snorkeling because those are the times your back will be most exposed to the sun.
Charging – Before I flew off to Manila, I went to purchase the power plug converter, which looks like the US one. Well, when I arrived there, I was surprised to realize I didn’t need one at all. The voltage they use is 220V and the entrance in the socket actually supports both the US plug and our own European plugs too. Go figure. So, save yourself some money and simply skip this step.

9. What to buy as a souvenir
I definitely brought home a lot of Ube products, a pack of calamansi and some dried Cebu mango, but there are endless possibilities. Beware of tourist prices at the airports! Simply head to a local supermarket where you will find all the delicious local snacks and products for less than half the price.
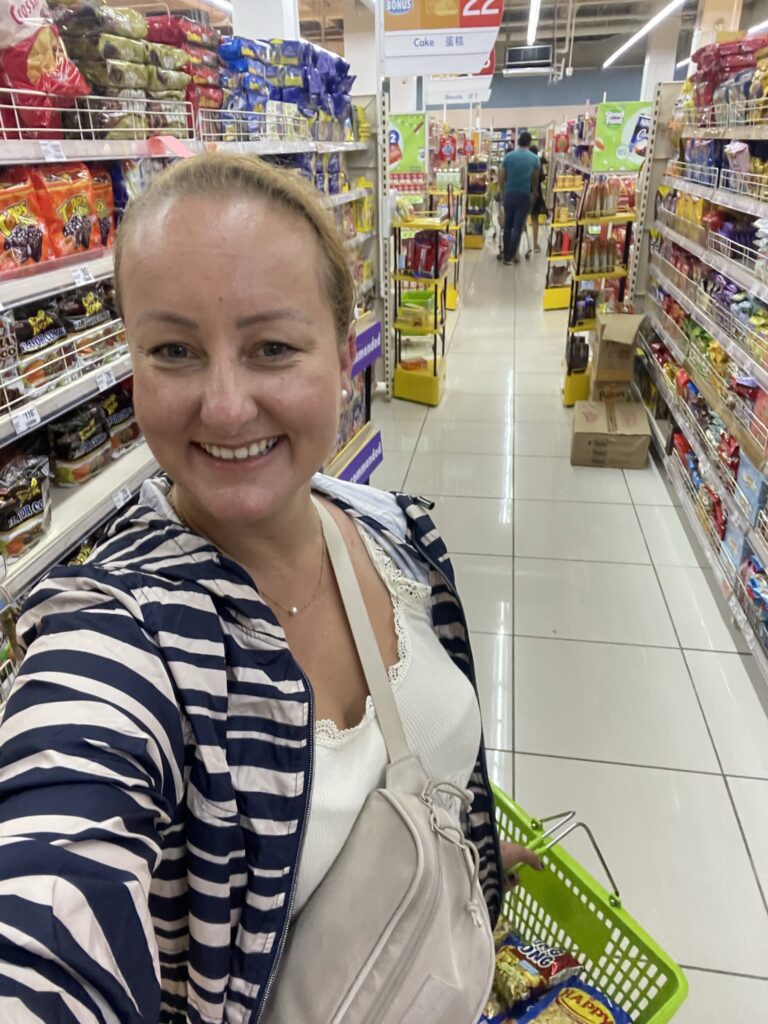
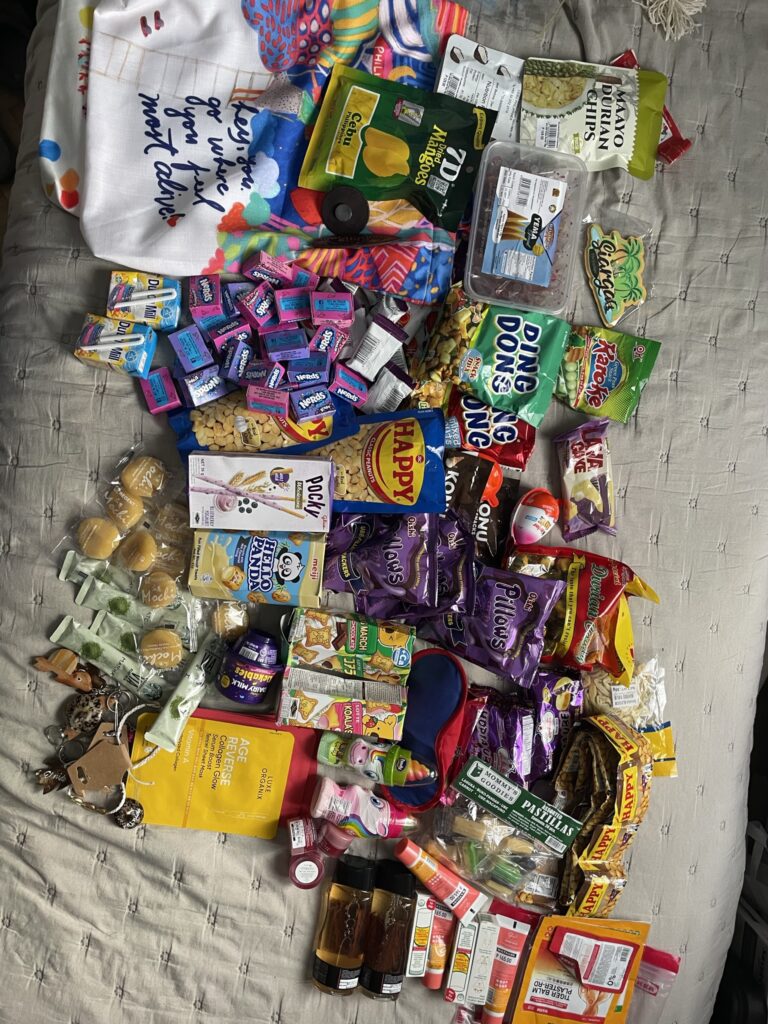

I also went to Watsons (something like DM or Müller in Europe) and got some cosmetic products for friends and family. One of my favorite purchases is definitely the Gugo Aloe Vera Hair Shampoo. I purchased it the last time I was in the Philippines, finished the 1 liter bottle and have missed it ever since.
10. Helpful phrases in Tagalog
I guess I have not picked up as much Tagalog as I wish I had, but here are a few words and phrases I got to use on a daily basis or on special occasions.
Salamat – thank you
Po – the word does not have an easily translatable meaning, but is added at the end of sentences, simply to show your respect to the person you are talking to ( example- Salamat po )
Sige sige – lets go (ajde ajde)
Kuya – brother (respectful) – you would call it a person who was respectful or helpful to you
Masarab – delicious
Kumusta / Kumusta ka? – How are you?
Kain tayo – lets eat!
Paalam – goodbye
Magkano? – How much? (when asking for a price)
…and for the end, one I hope you will not need to use:
Ulul – jerk, bastard
English is an official language in the Philippines, so you should not have issues communicating while traveling. They appreciated my clumsy tagalong sentences, but quickly switch to speaking English. From the taxi drivers to the salespeople on the streets, everyone was helpful, welcoming and treated us with respect.
I hope you may find good use of this little how-to guide. Please beware that all the prices and comments are concerning my visit in October 2023 and by the time you get to visit it, they may as well be different to a certain degree. I hope you will enjoy your own Philippine adventure in a safe, adventurous and the most exciting way possible.

Leave a Comment